The Complete Guide To Getting Started With Whawoo
This guide will show you how to set up your domain completely using Cloudflare and AWS, in order to configure your SMTP server for sending emails with Amazon. There are various SMTP servers that you can integrate with our marketing system, but we recommend AWS, as it is the most reliable and easiest to set up.
This guide assumes that you already have a domain with an associated email. The example used in this guide is 'gkgames.co.uk' as the domain, with the email address 'george@gkgames.co.uk' associated with it.
Cloudflare Setup
What is Cloudflare?
Cloudflare is an IT service management company that offers a variety of services including website and app security, network security and performance, developer platform, and malware protection. While all of these services are useful, we will only be using the DNS settings, which are included in their free plan.
Getting Started With Cloudflare
To get started with your free cloudflare account, simply head over to their website ( Cloudflare ) and hit the 'Sign Up' button in the top right corner. Follow the registration process and once complete, you should be sent an email to verify your address, be sure to do that.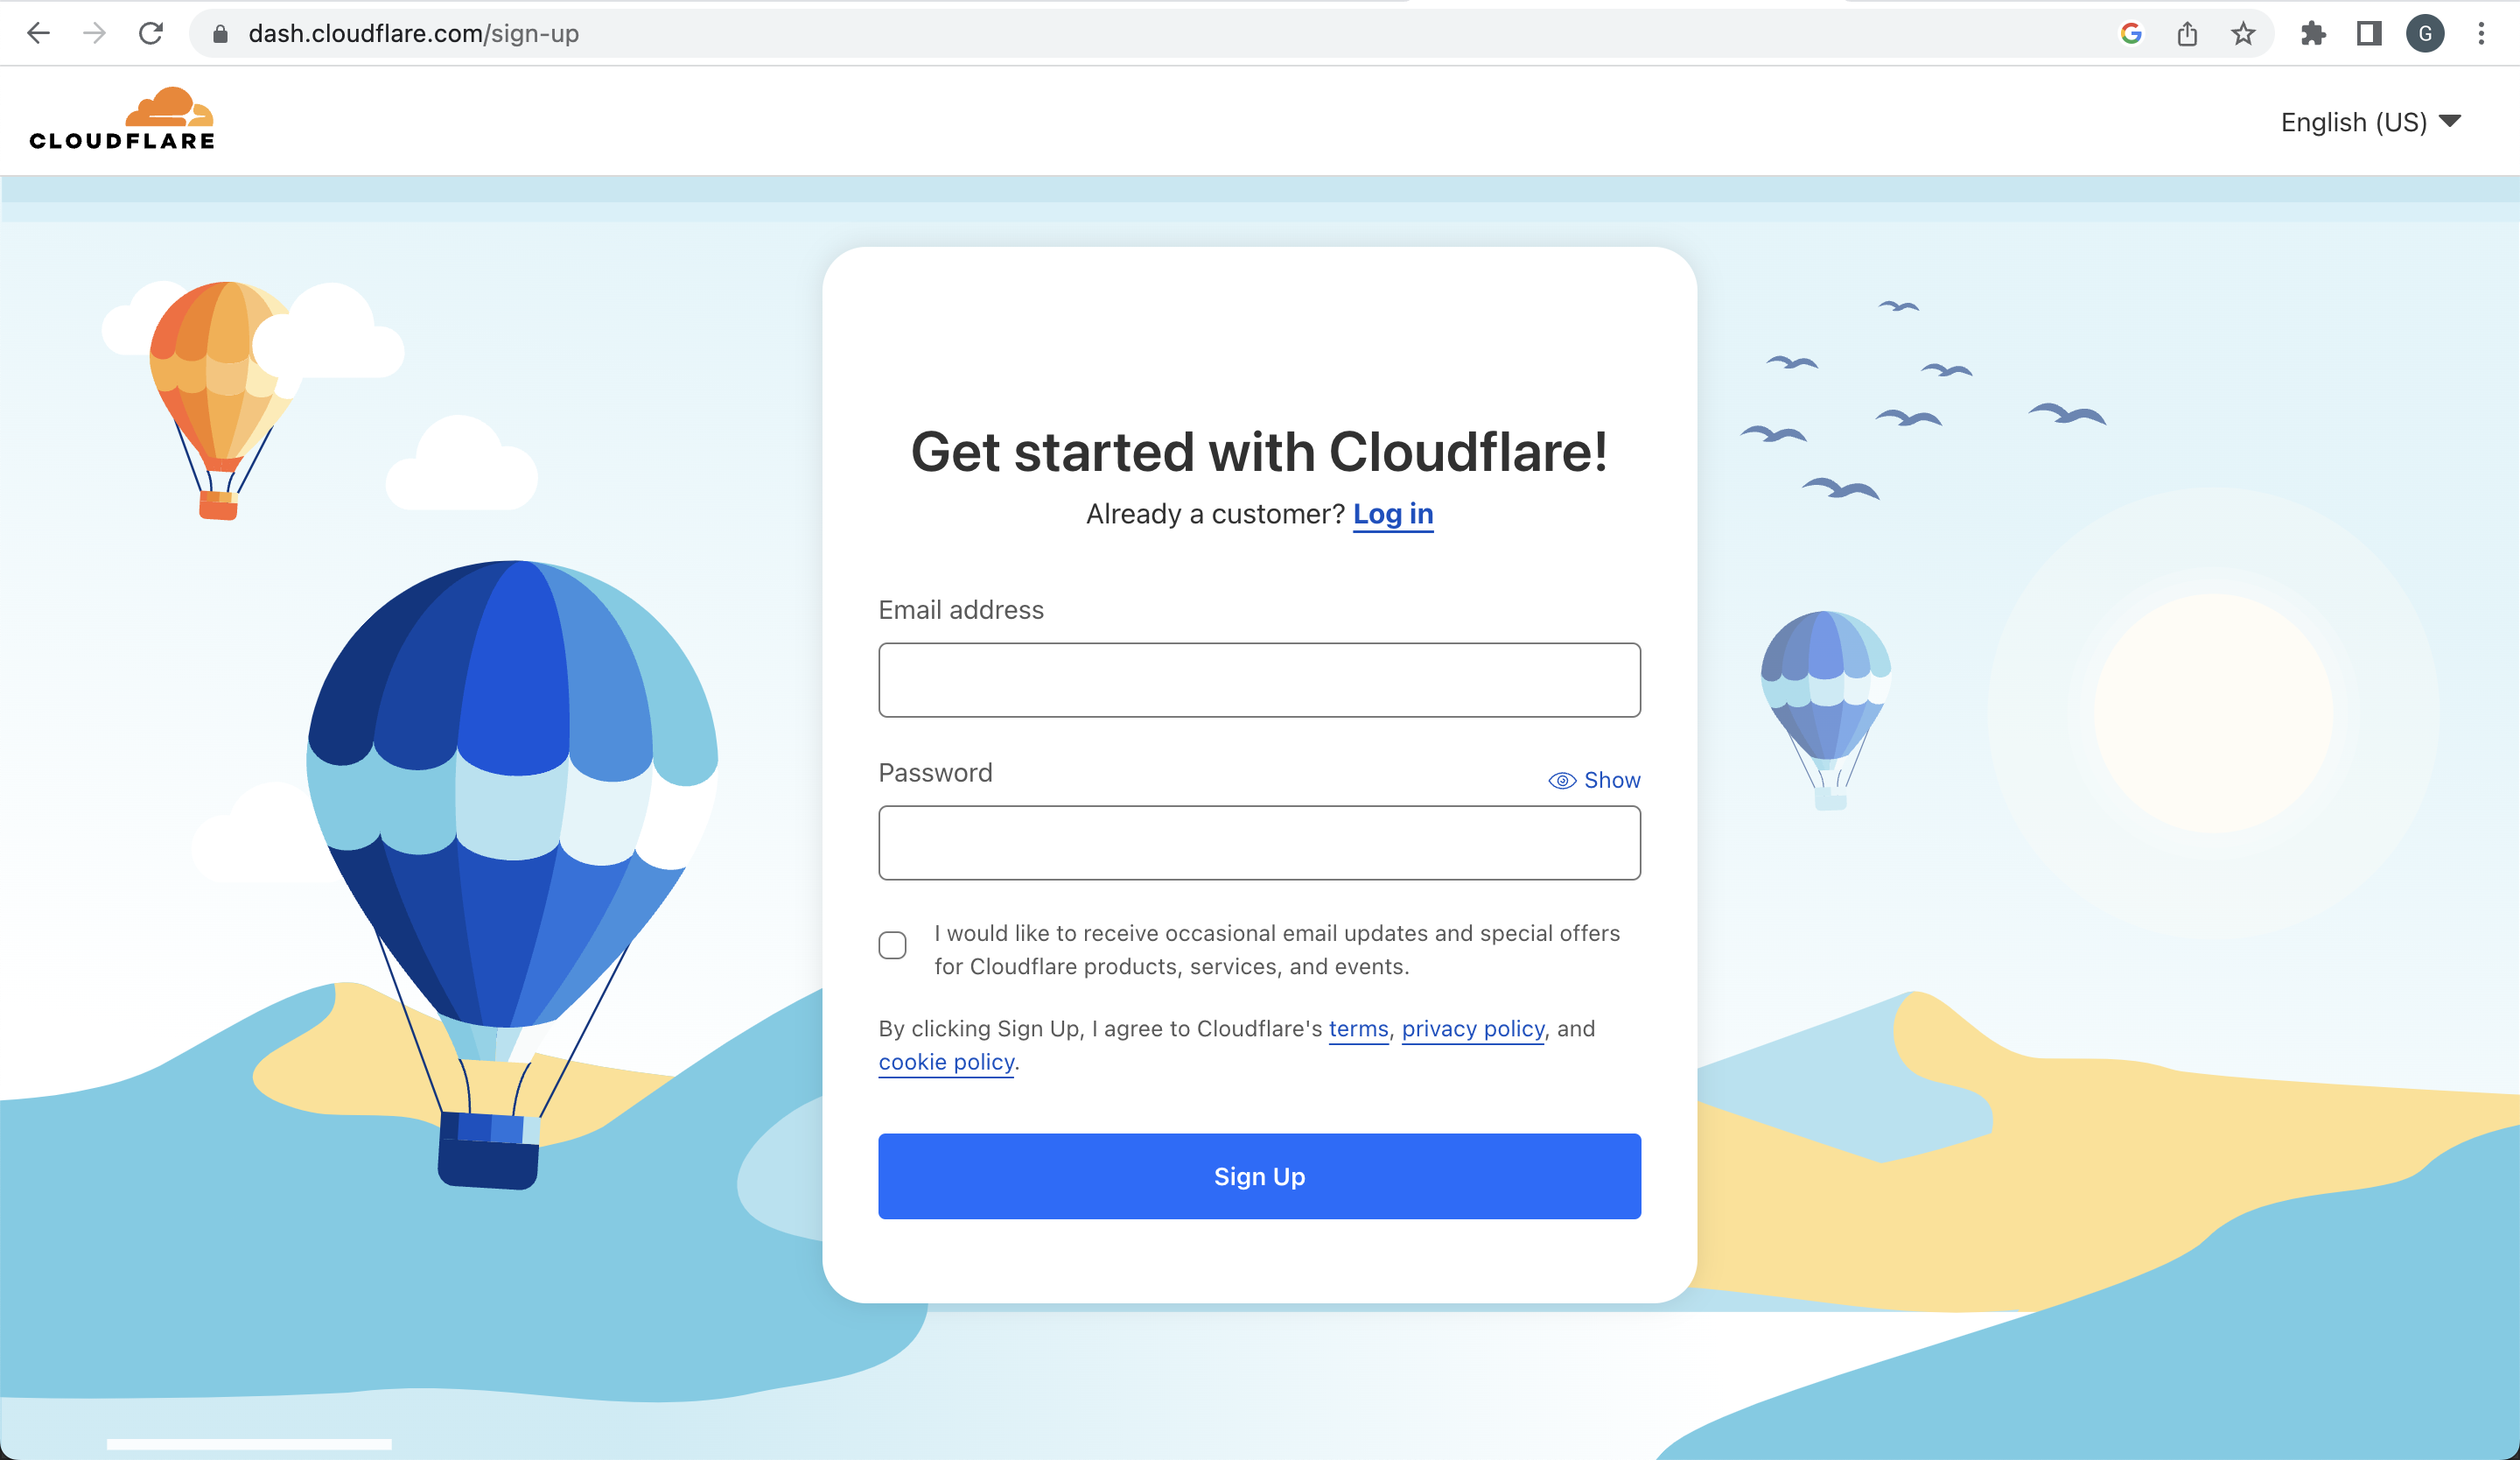
Adding Your Site To Cloudflare
Next, we have a 3 step process, which is adding your site/domain to the Cloudflare platform. Step 1, if you're not on the websites page, then head there now and you should see a button for adding a site, go ahead and click that.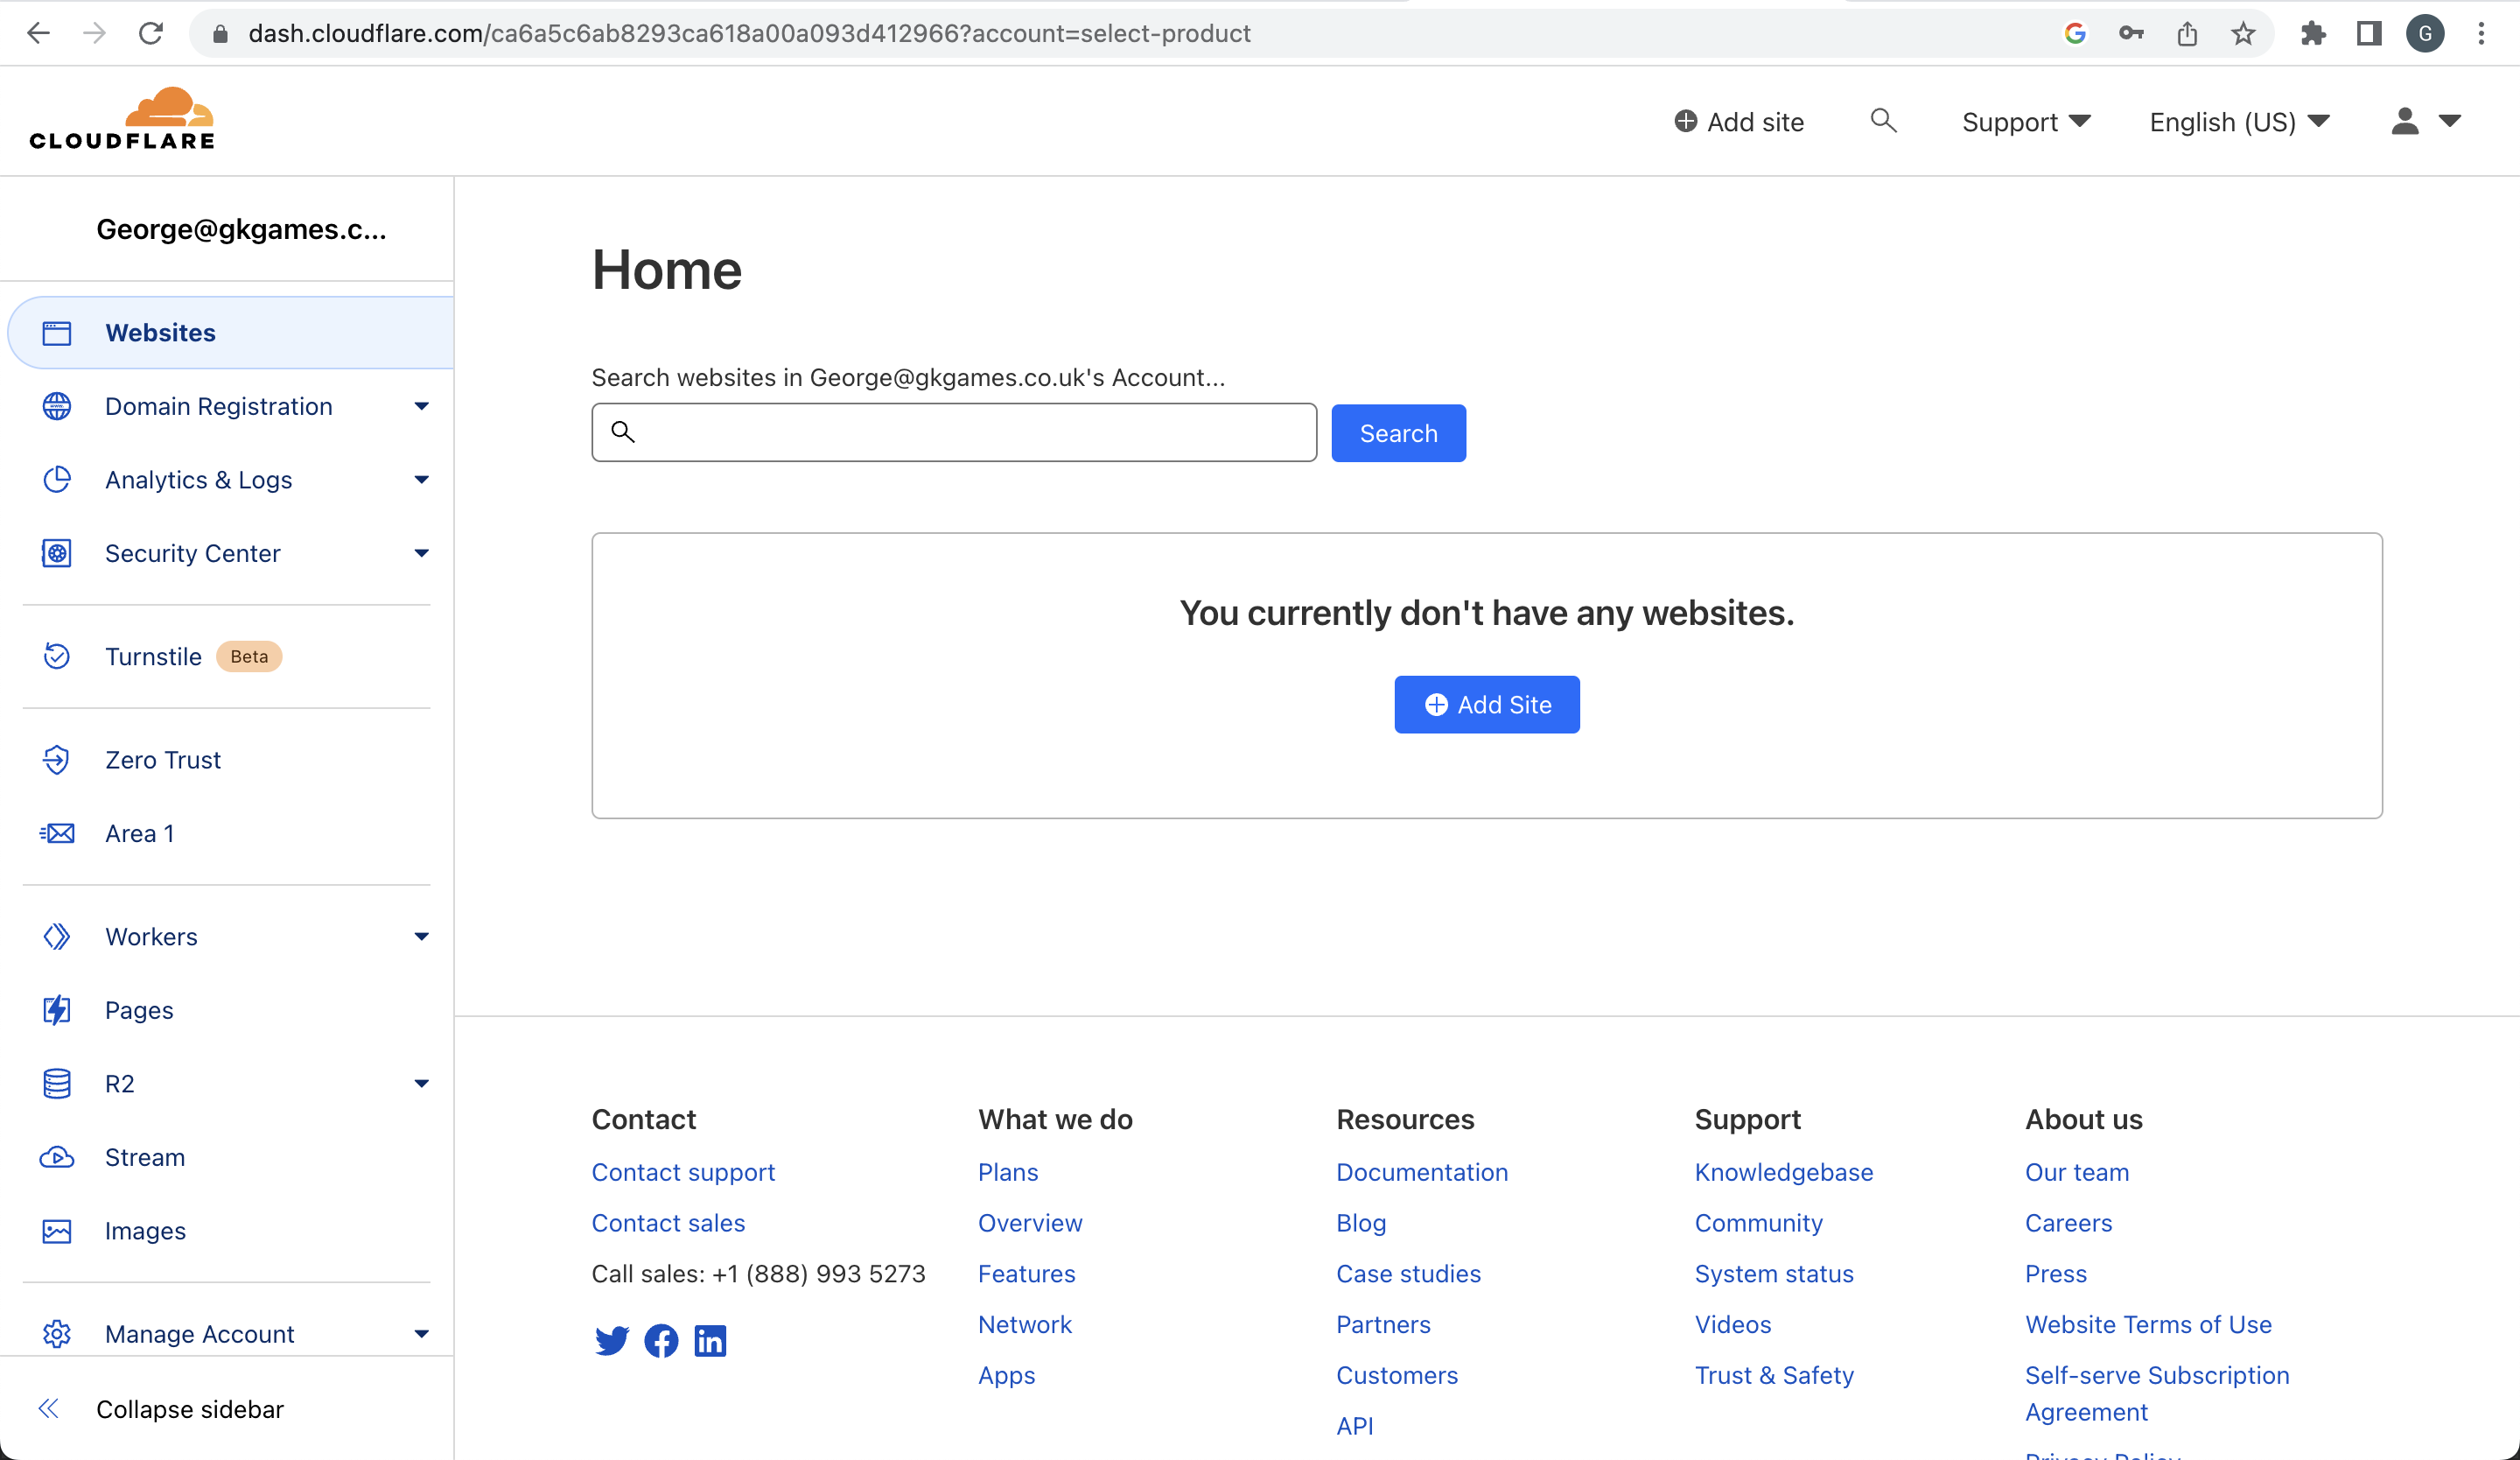
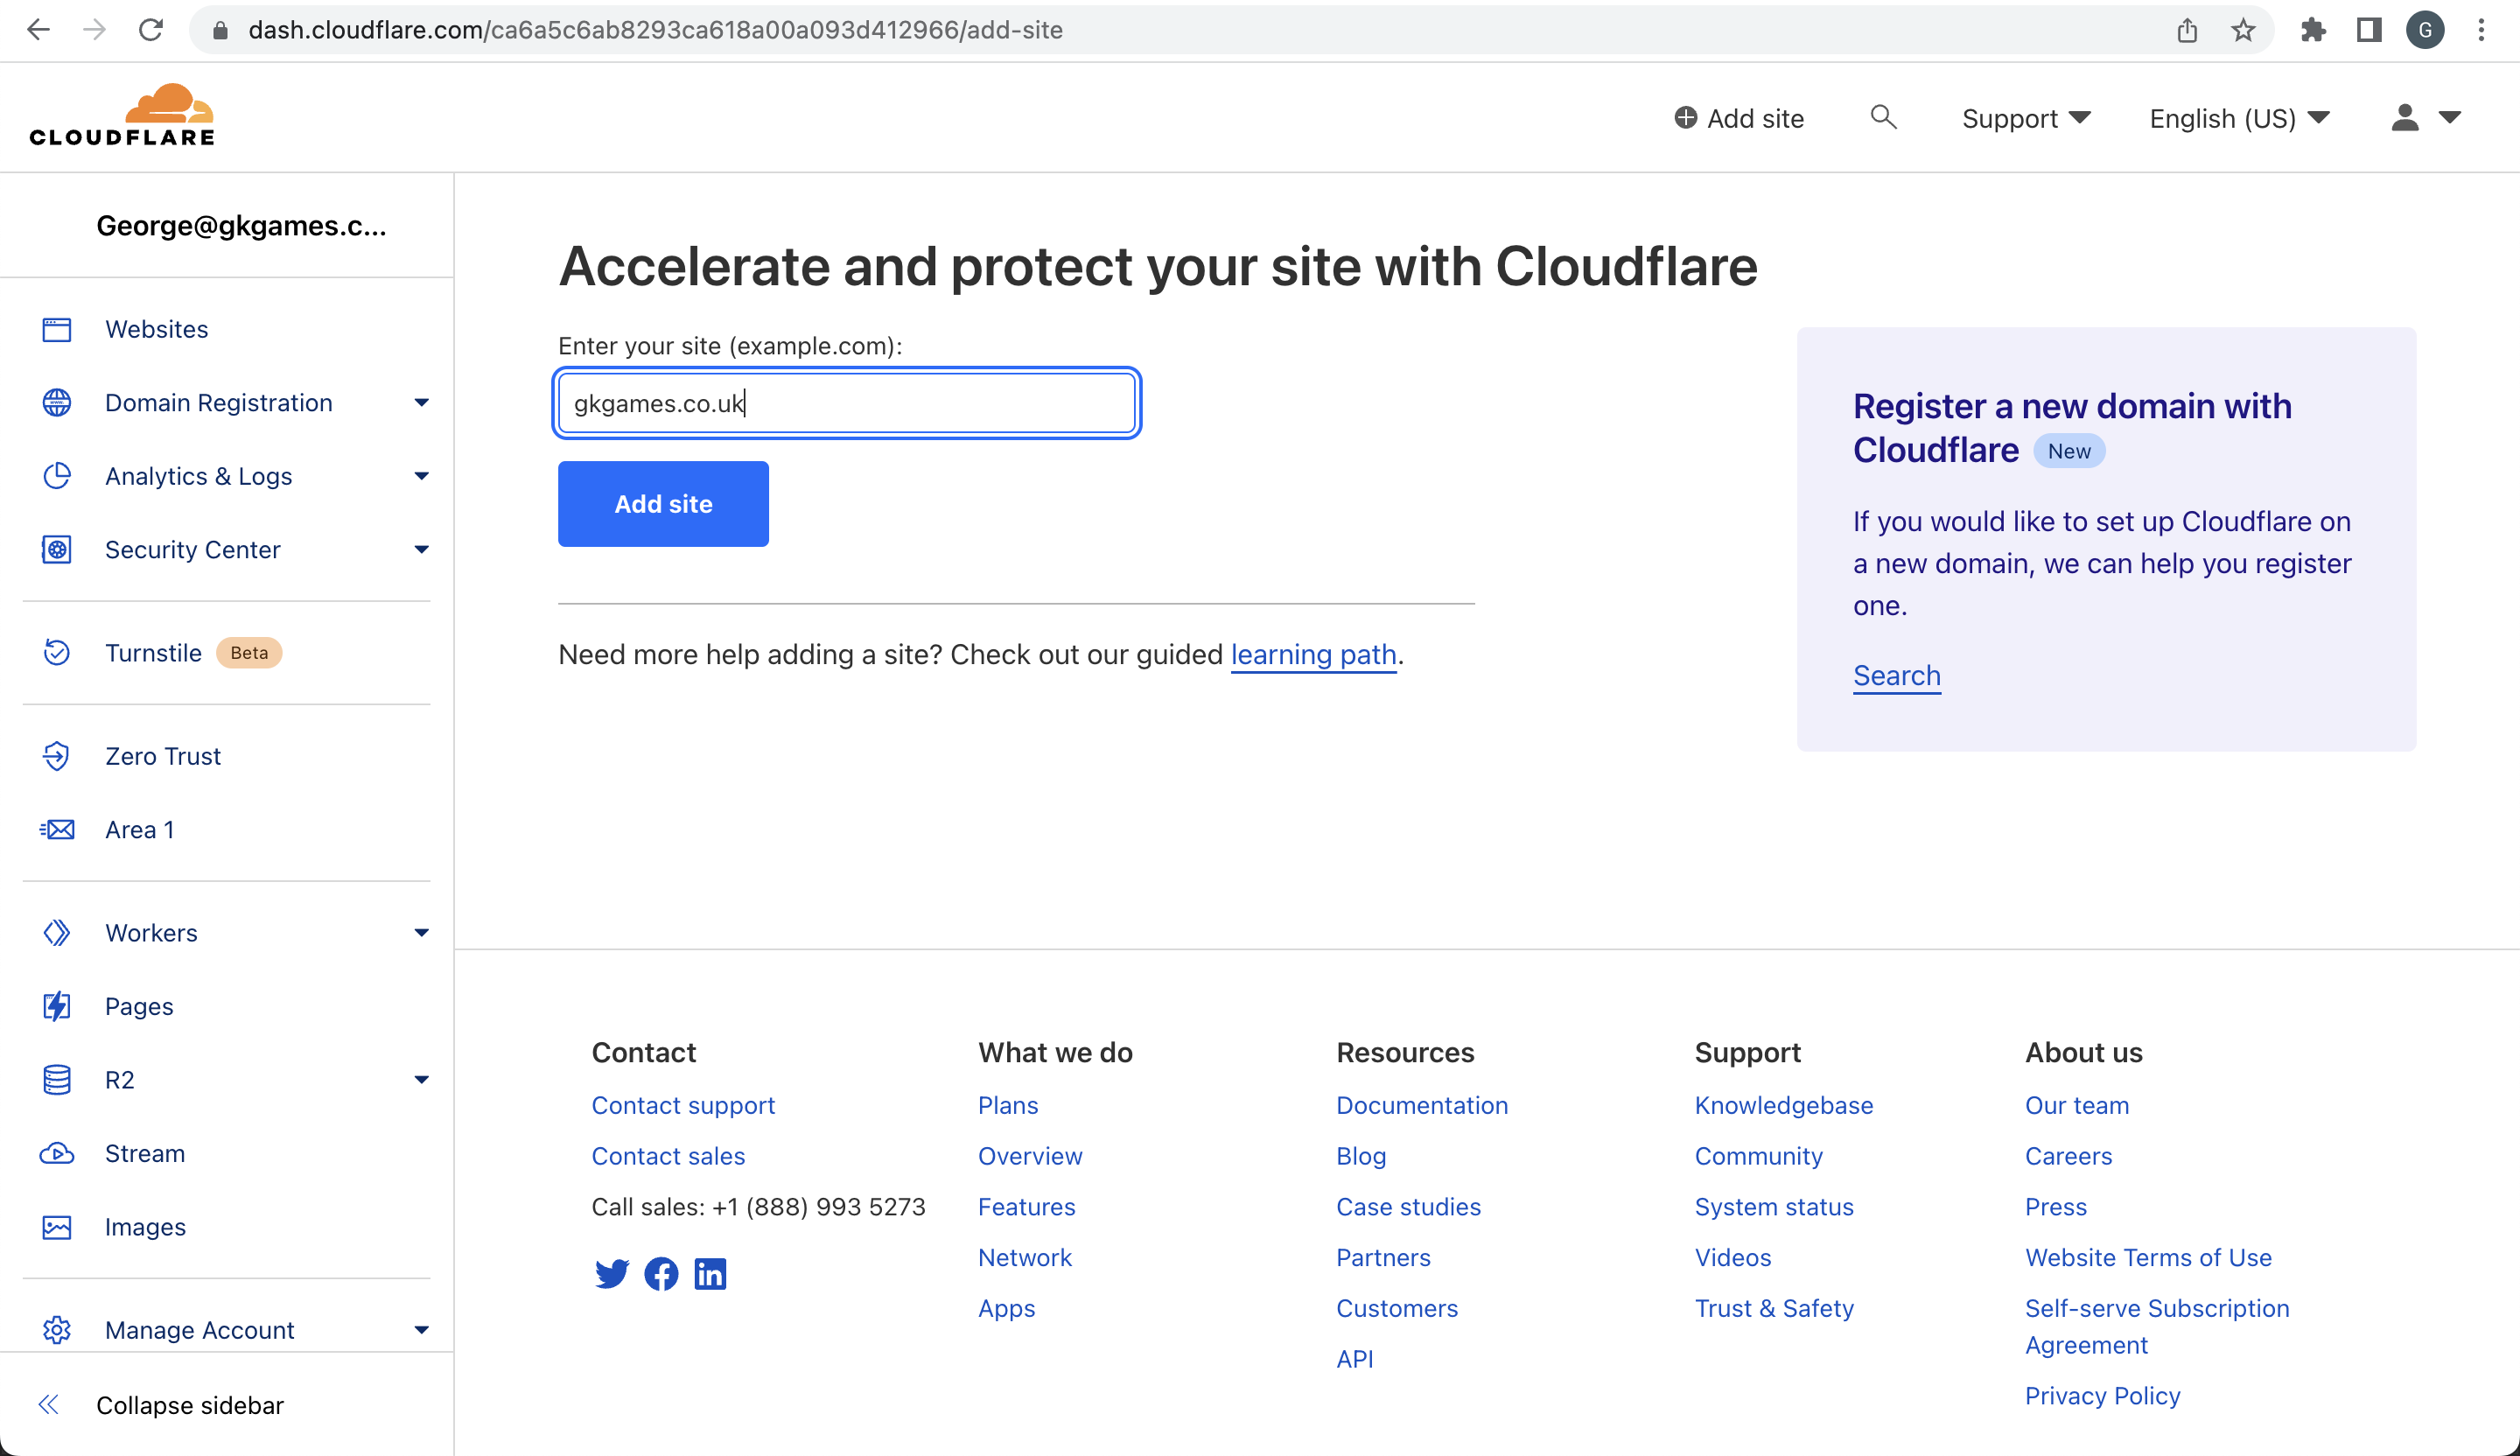
Step 2, enter your site name and add the site to Cloudflare. If you're site isn't public yet, then just enter the domain for your site.
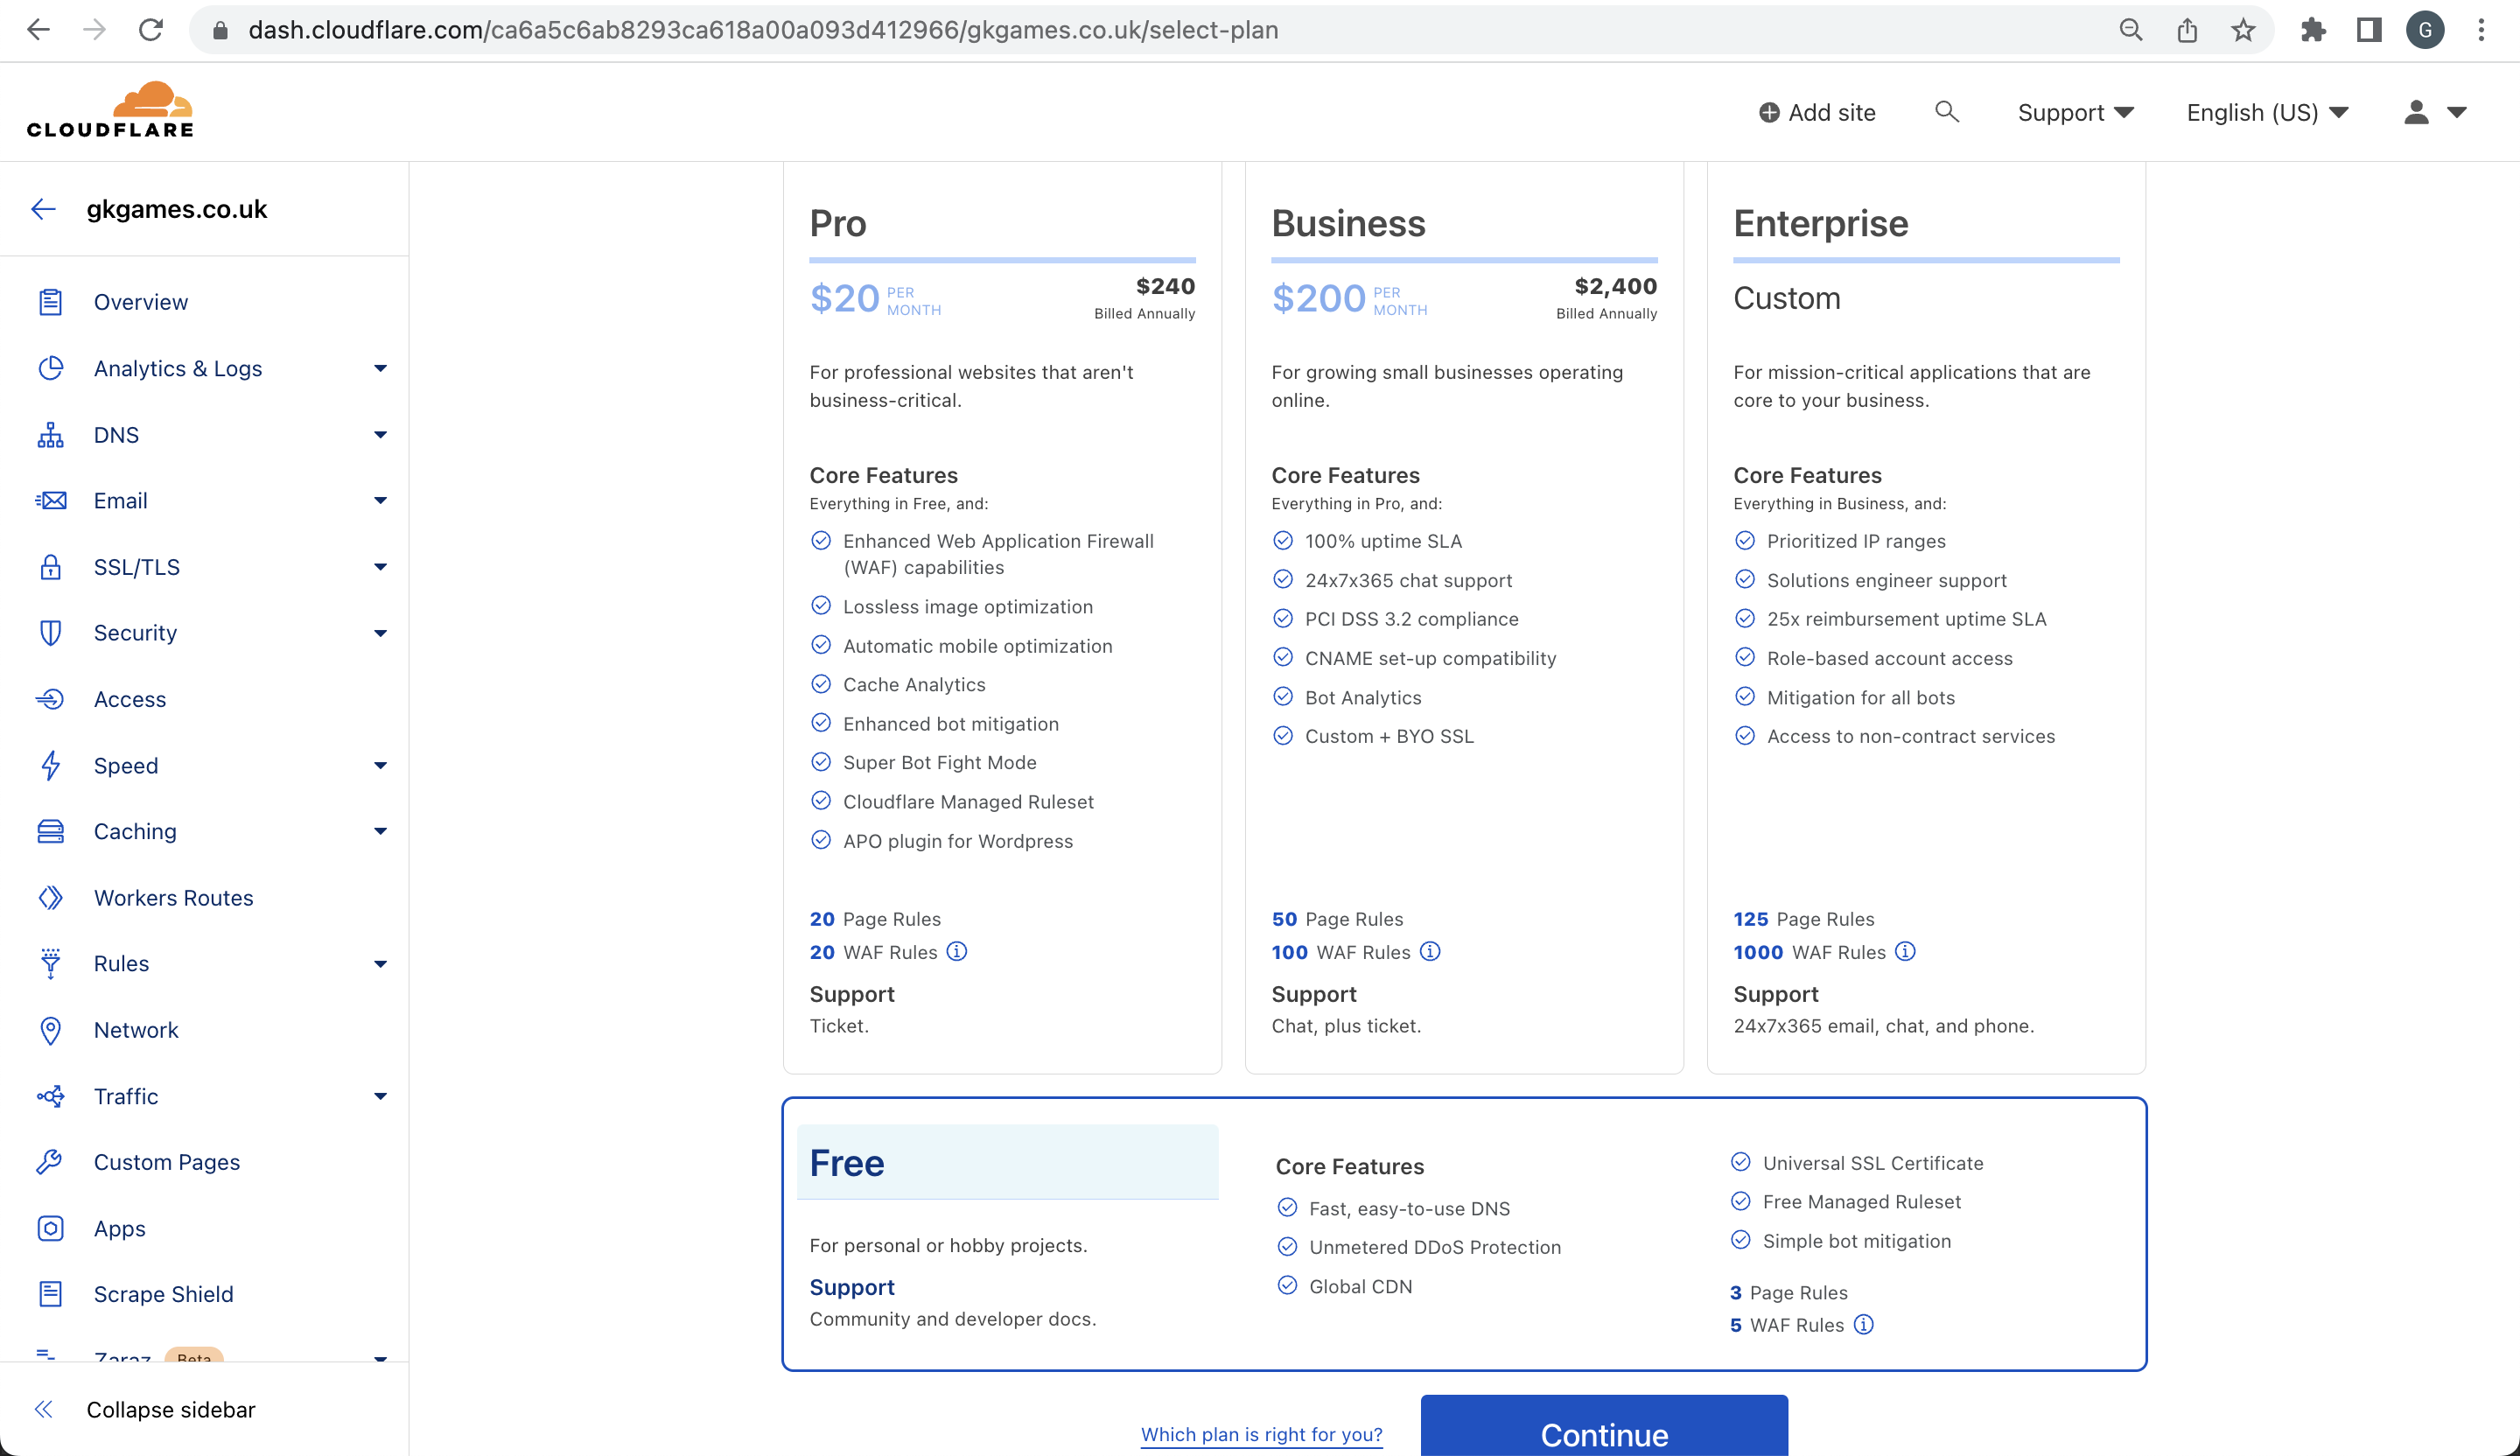
Step 3, choosing your plan. For this tutorial you'll only be required to have the free plan, and we would recommend that if you're new to Cloudflare, to select the free plan just to trial out their system and see whether it's for you. Once you've selected a plan, hit continue.
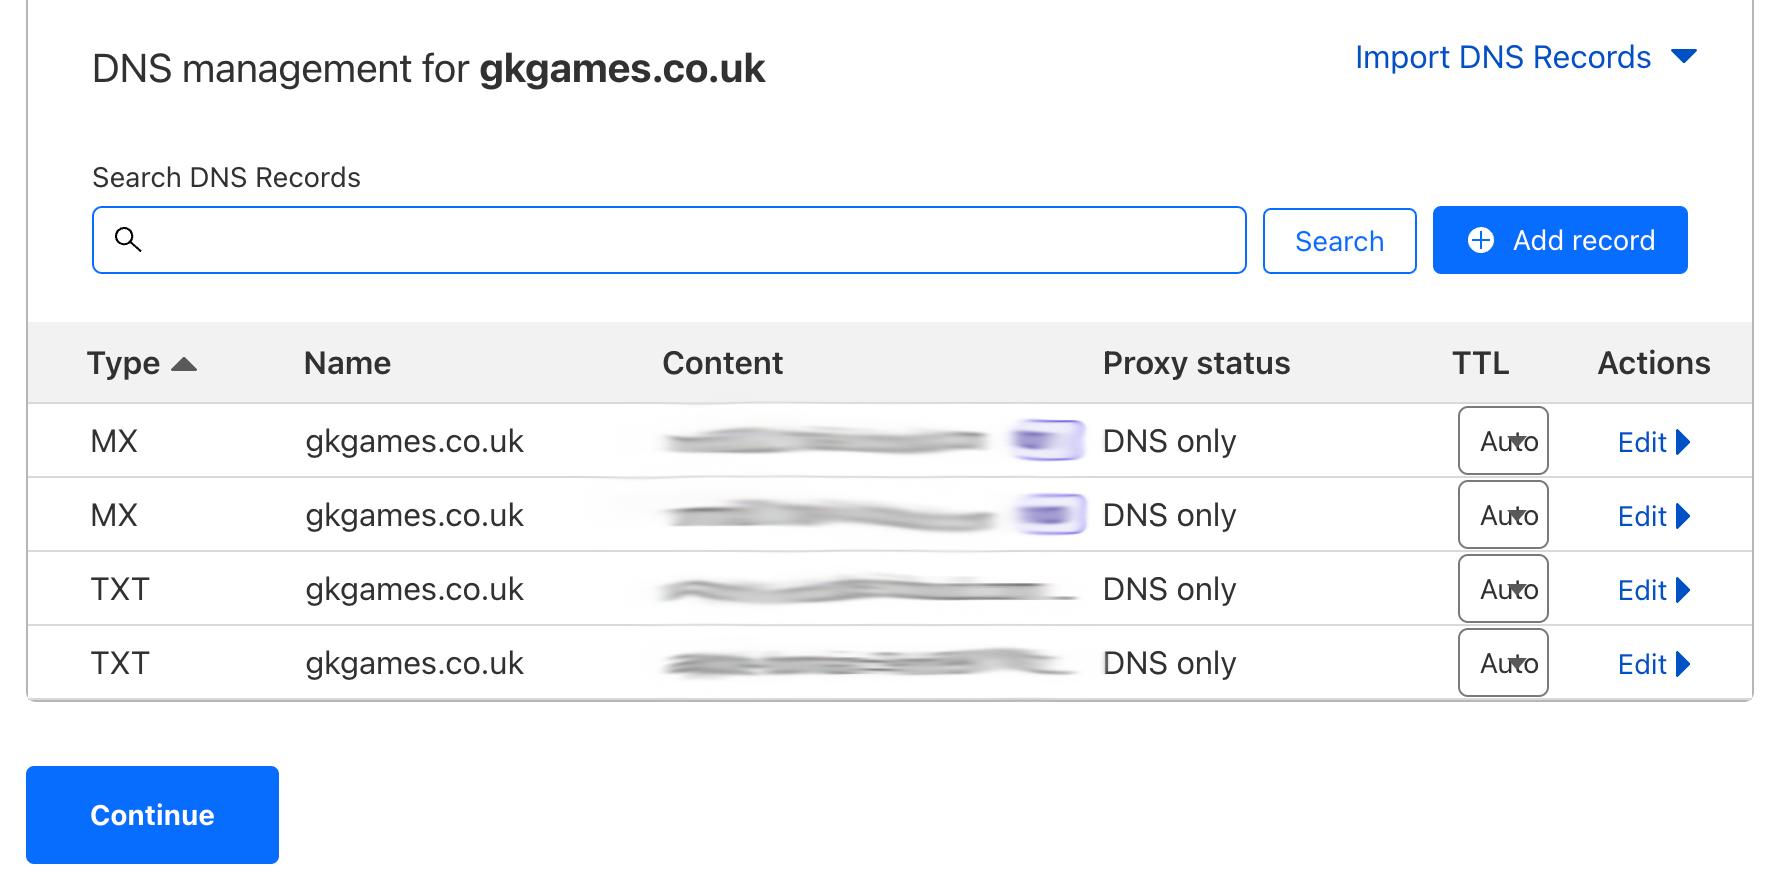
Reviewing your DNS records
Here you more than likely will have to add your DNS records that associate with the domain to Cloudflare. You should be able to find these in the domain settings of whichever provider you used to purchase your domain or where you hold your domains. Go ahead and copy and paste these over and click save to verify your DNS records with Cloudflare.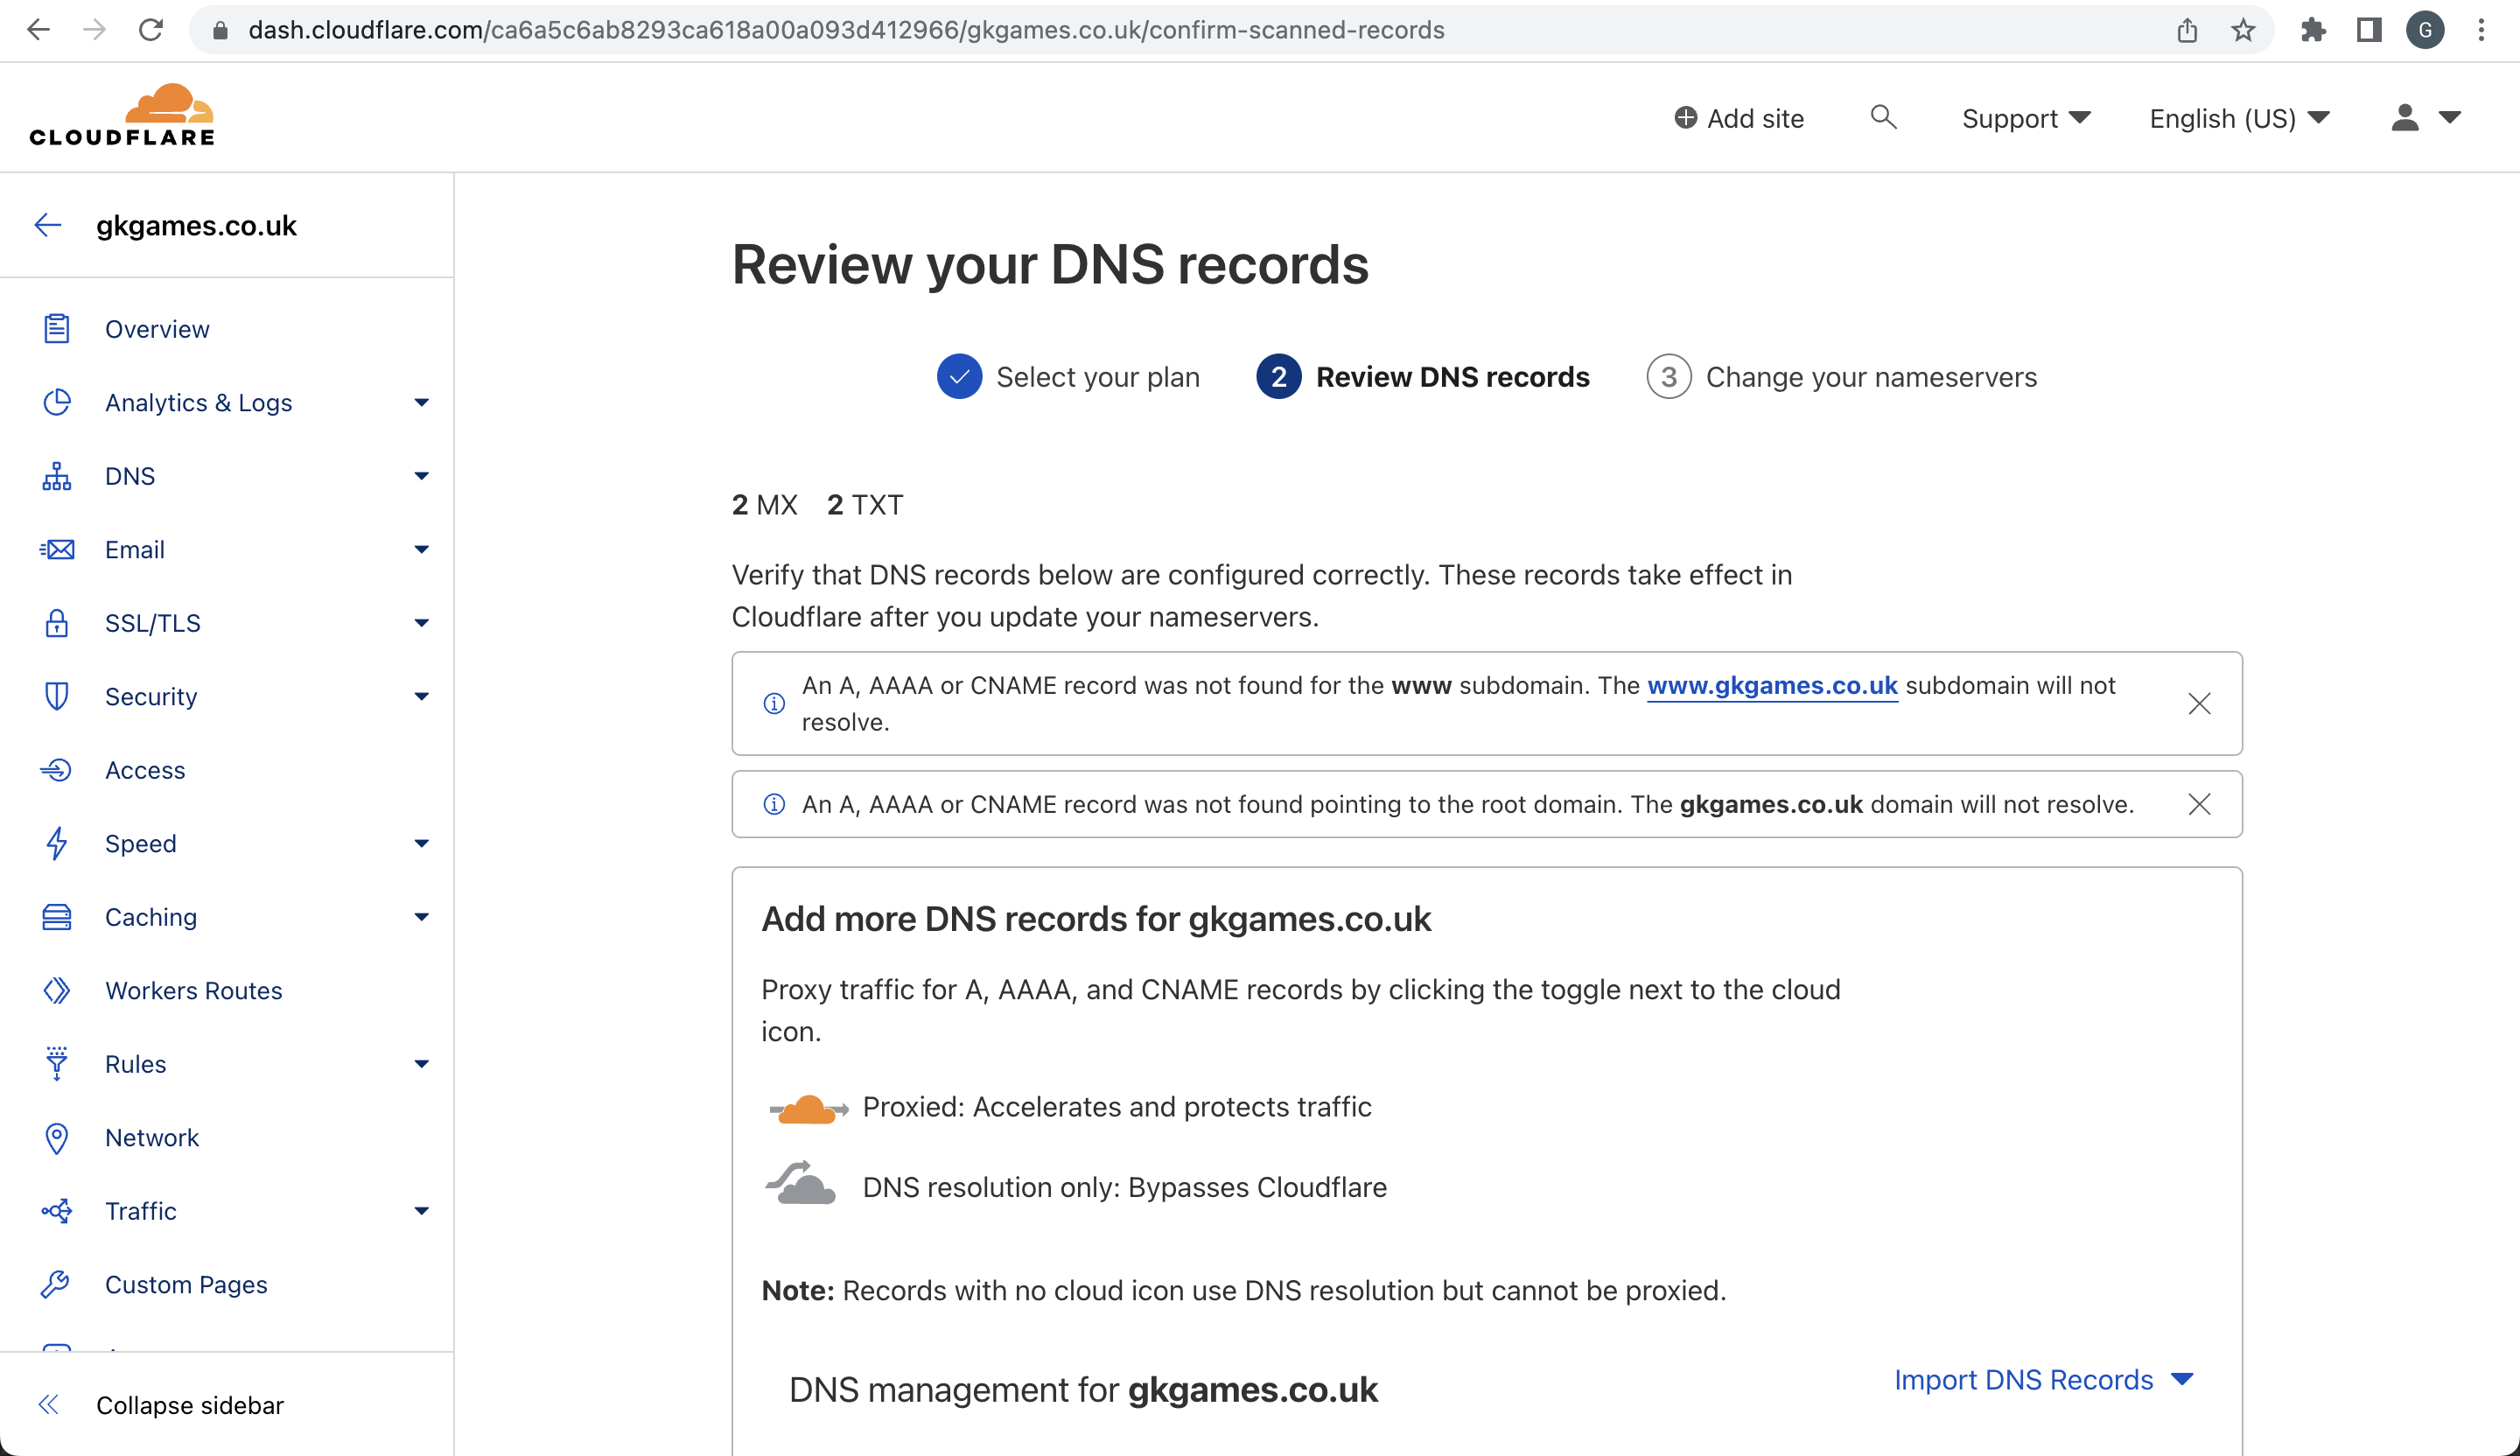
Changing Your Nameservers
Now that you've correctly added your DNS records to Cloudflare, you now need to change the nameservers for the domain. This will require you to remove the old nameservers from the domain and paste the new ones. You will need to carry out this process on the provider which you used to purchase the domain, or where you hold your domain.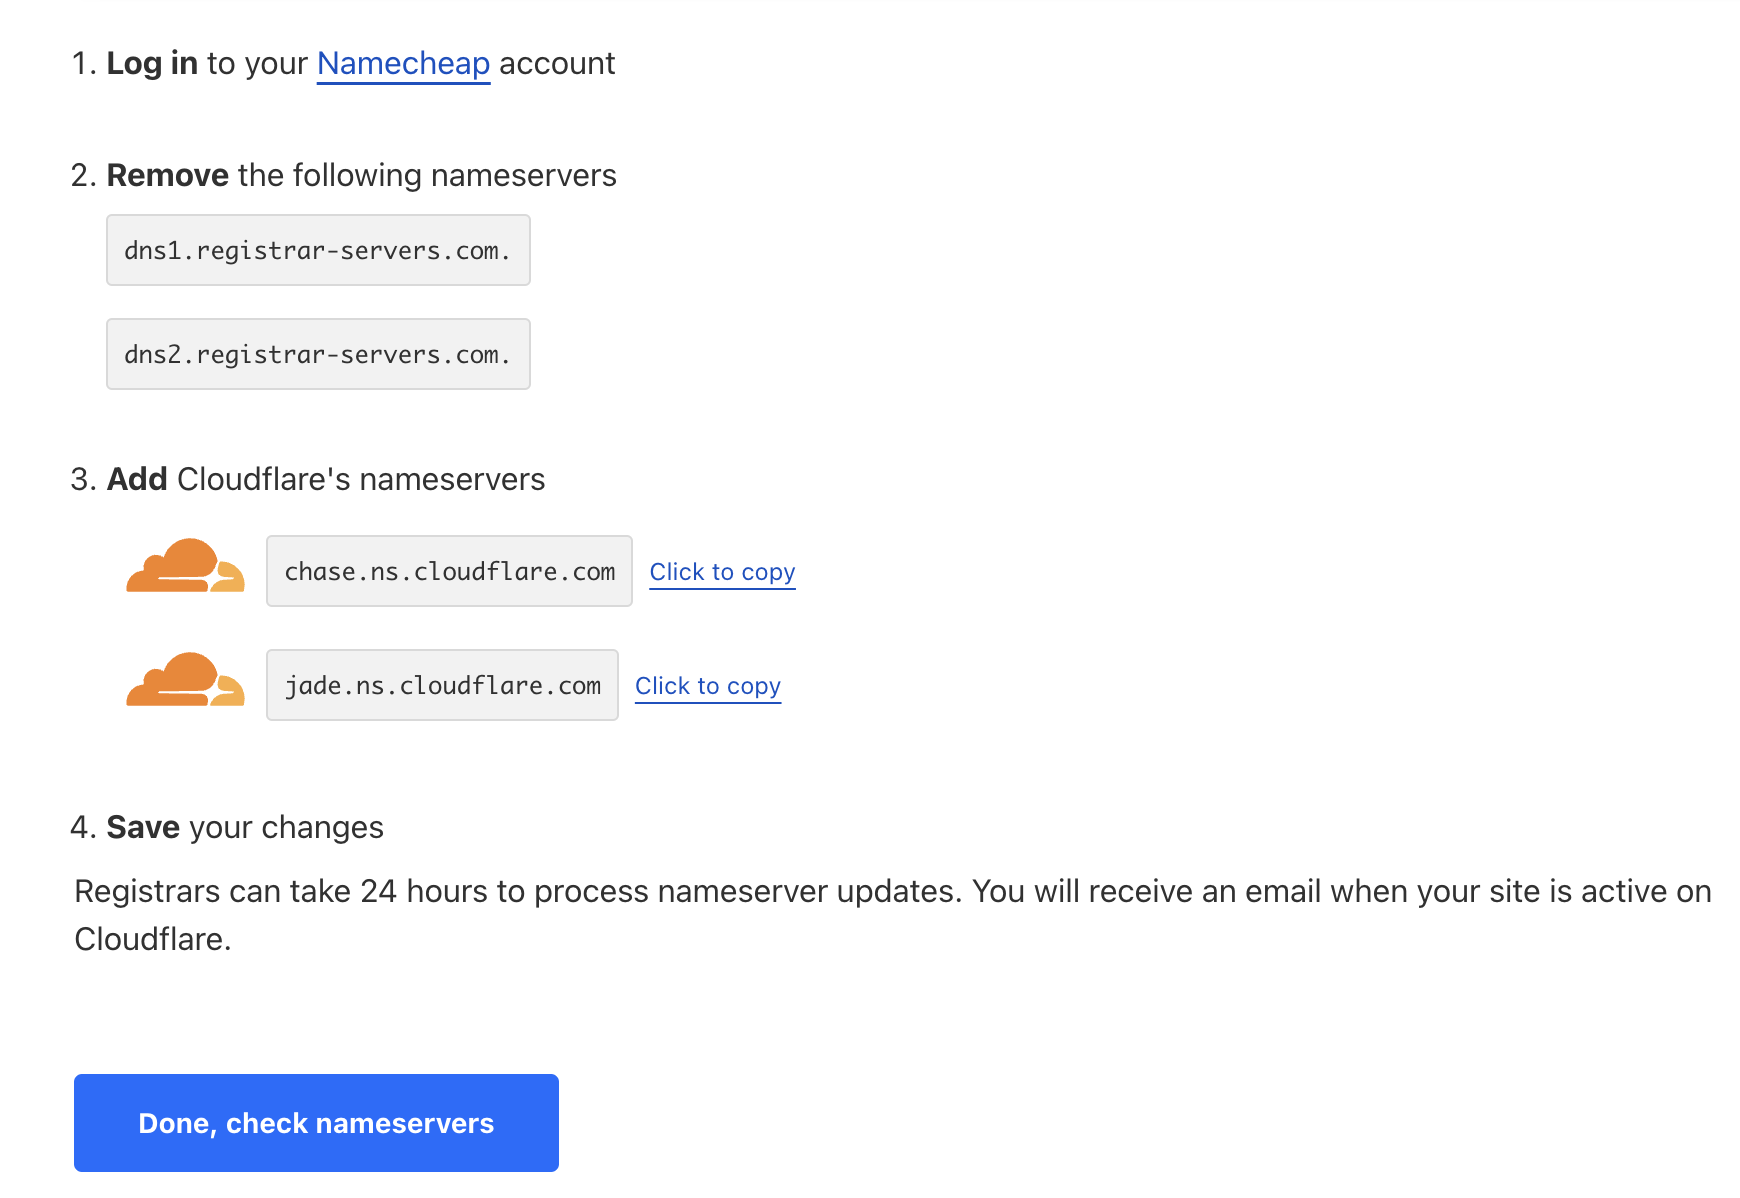
Cloudflare Confirmation
Once you've changed over the nameservers you should be good to go and your screen should look like the screenshot.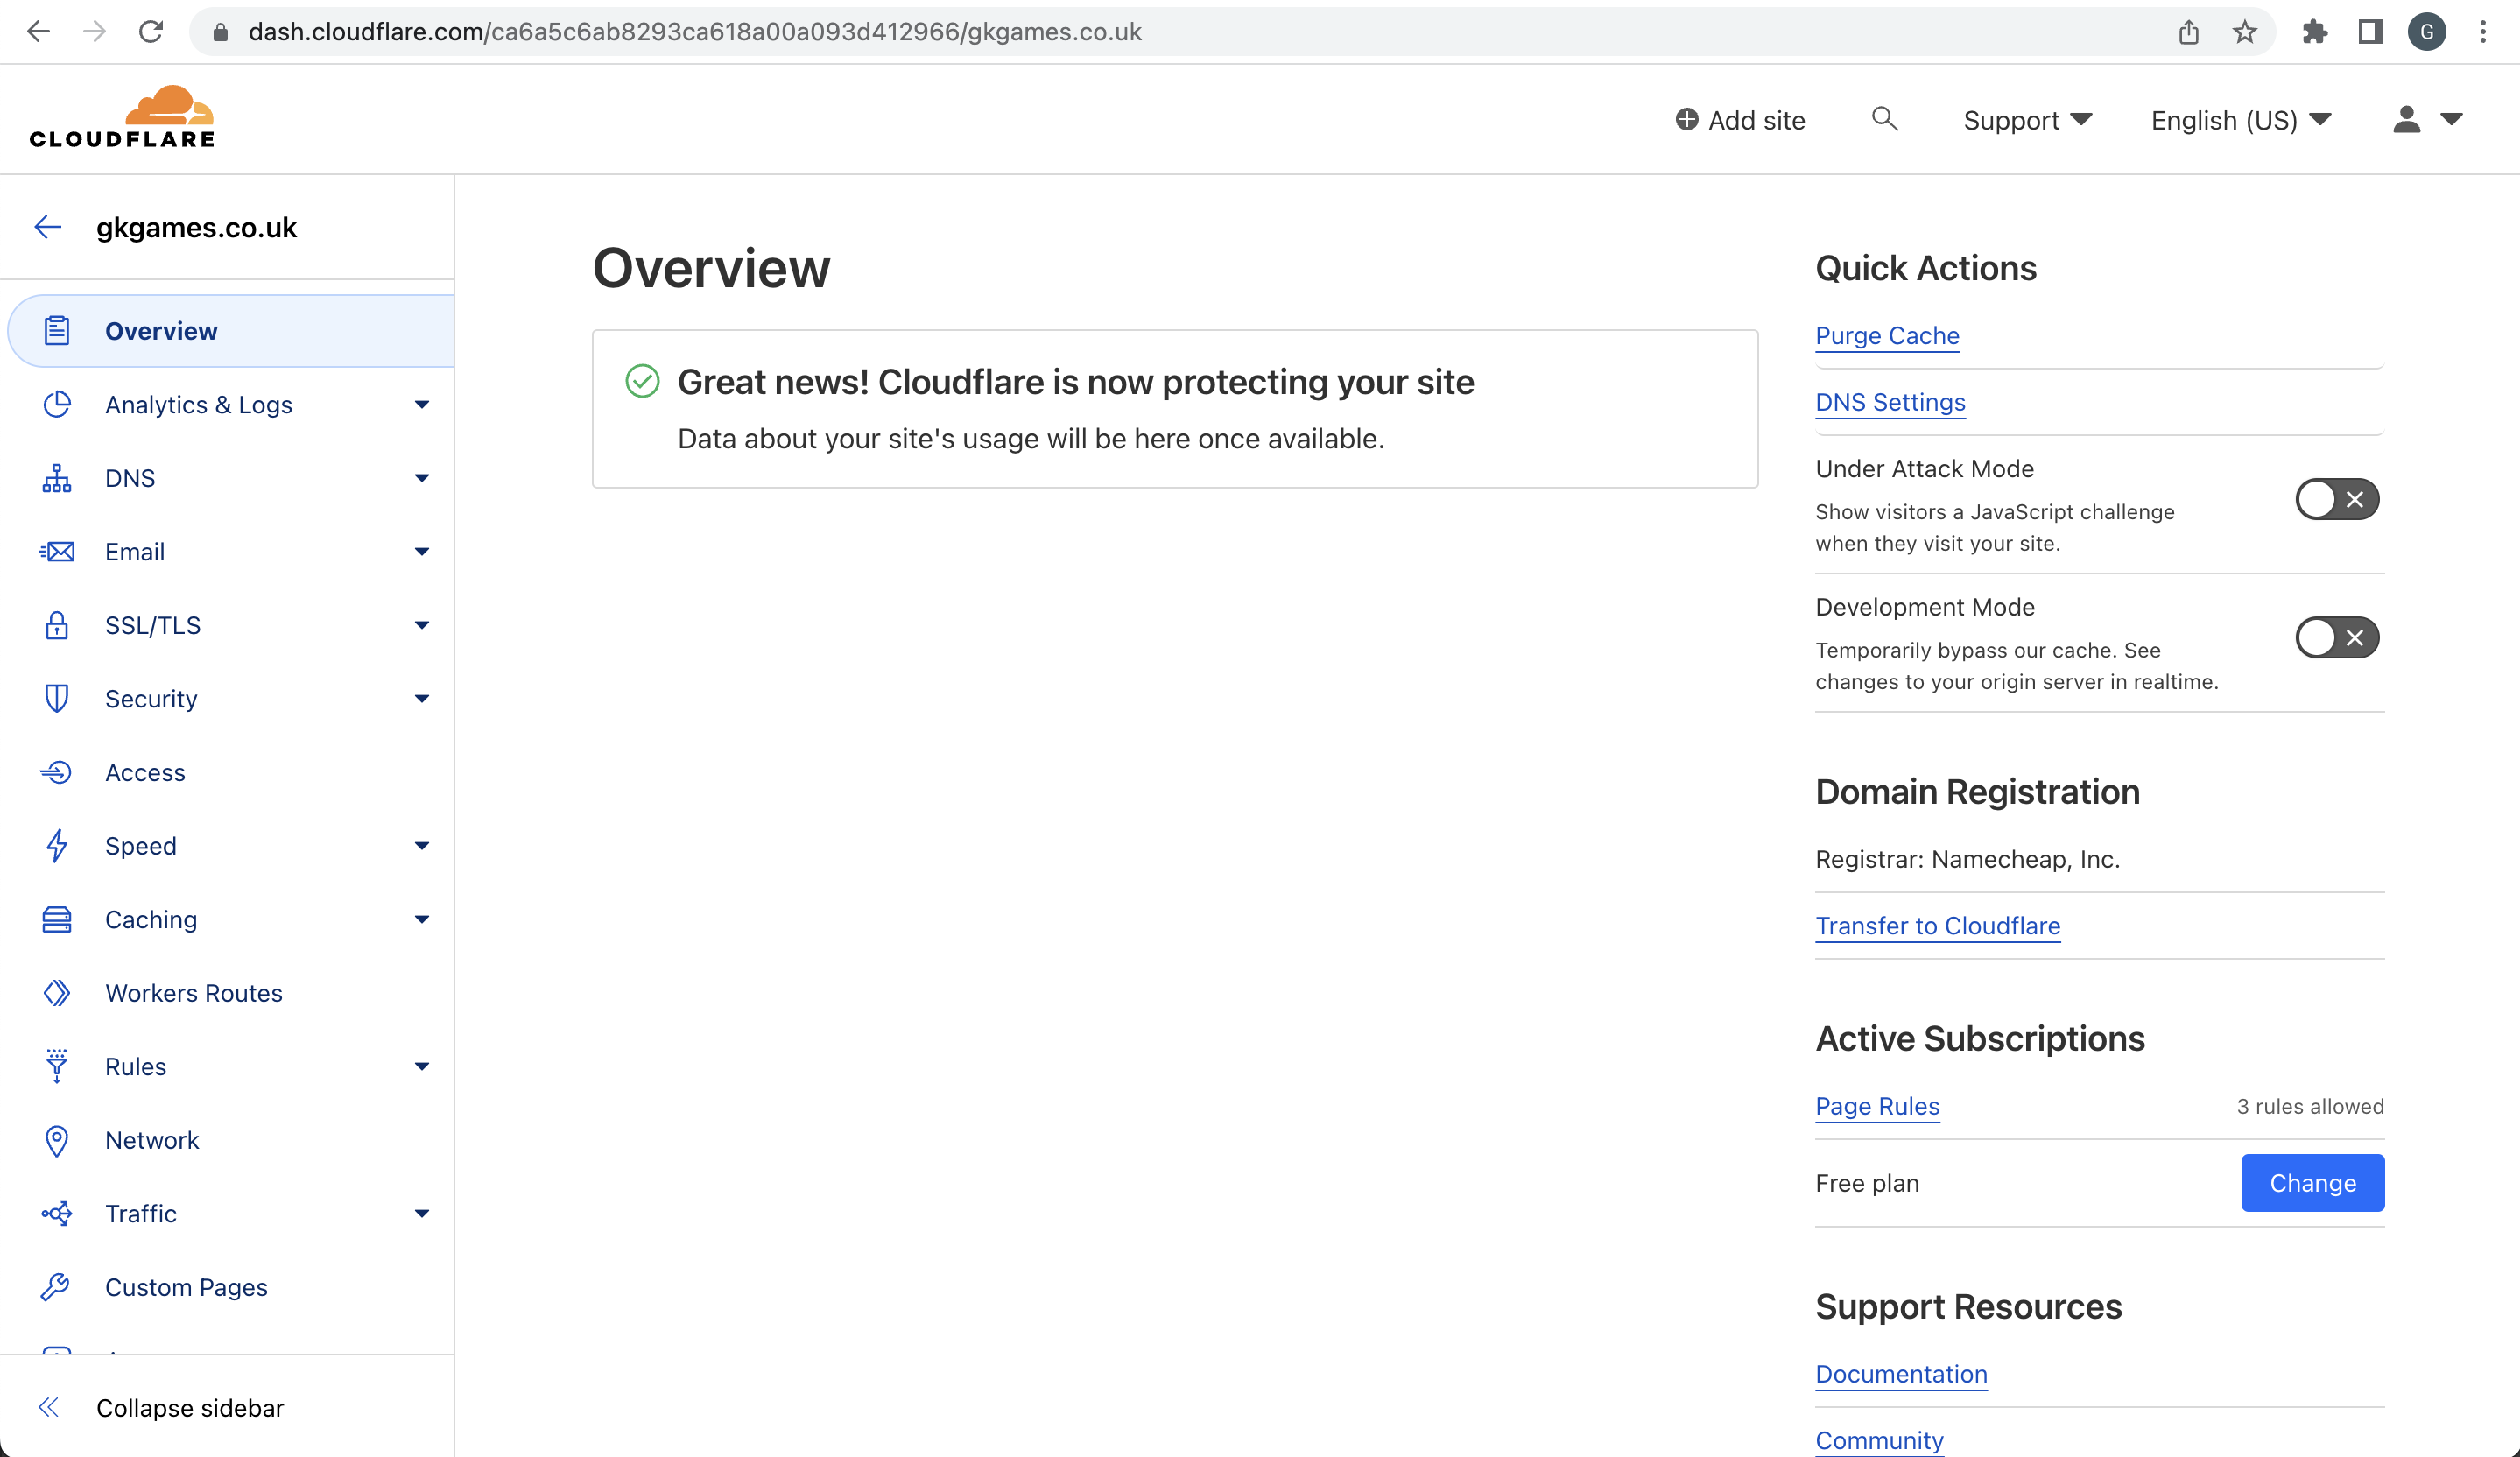
AWS Setup
What is AWS?
Amazon Web Services, commonly known as AWS, is the world's most comprehensive and widely adopted cloud computing platform. It offers a massive range of features to accommodate almost every need you could have for a web service. We chose AWS primarily for its ease of use and extensive range of features. Moreover, AWS is widely considered as the most trustworthy and reliable cloud platform, making it ideal for sending emails.
Getting Started With AWS
To get started with AWS, head over to their website ( AWS ) and click on the 'Create an AWS Account' button in the top right corner of the page.
Register Using Your Domain
You should be on the register page, you will need to register using the email that is associated with your domain. Continue to follow the register process provided by Amazon, during this process amazon will ask for you to add a card and they will charge your account $1 to ensure the card is associated to you. Once you've created your account and Amazon is happy for you to continue, you will be automatically redirected to the AWS dashboard.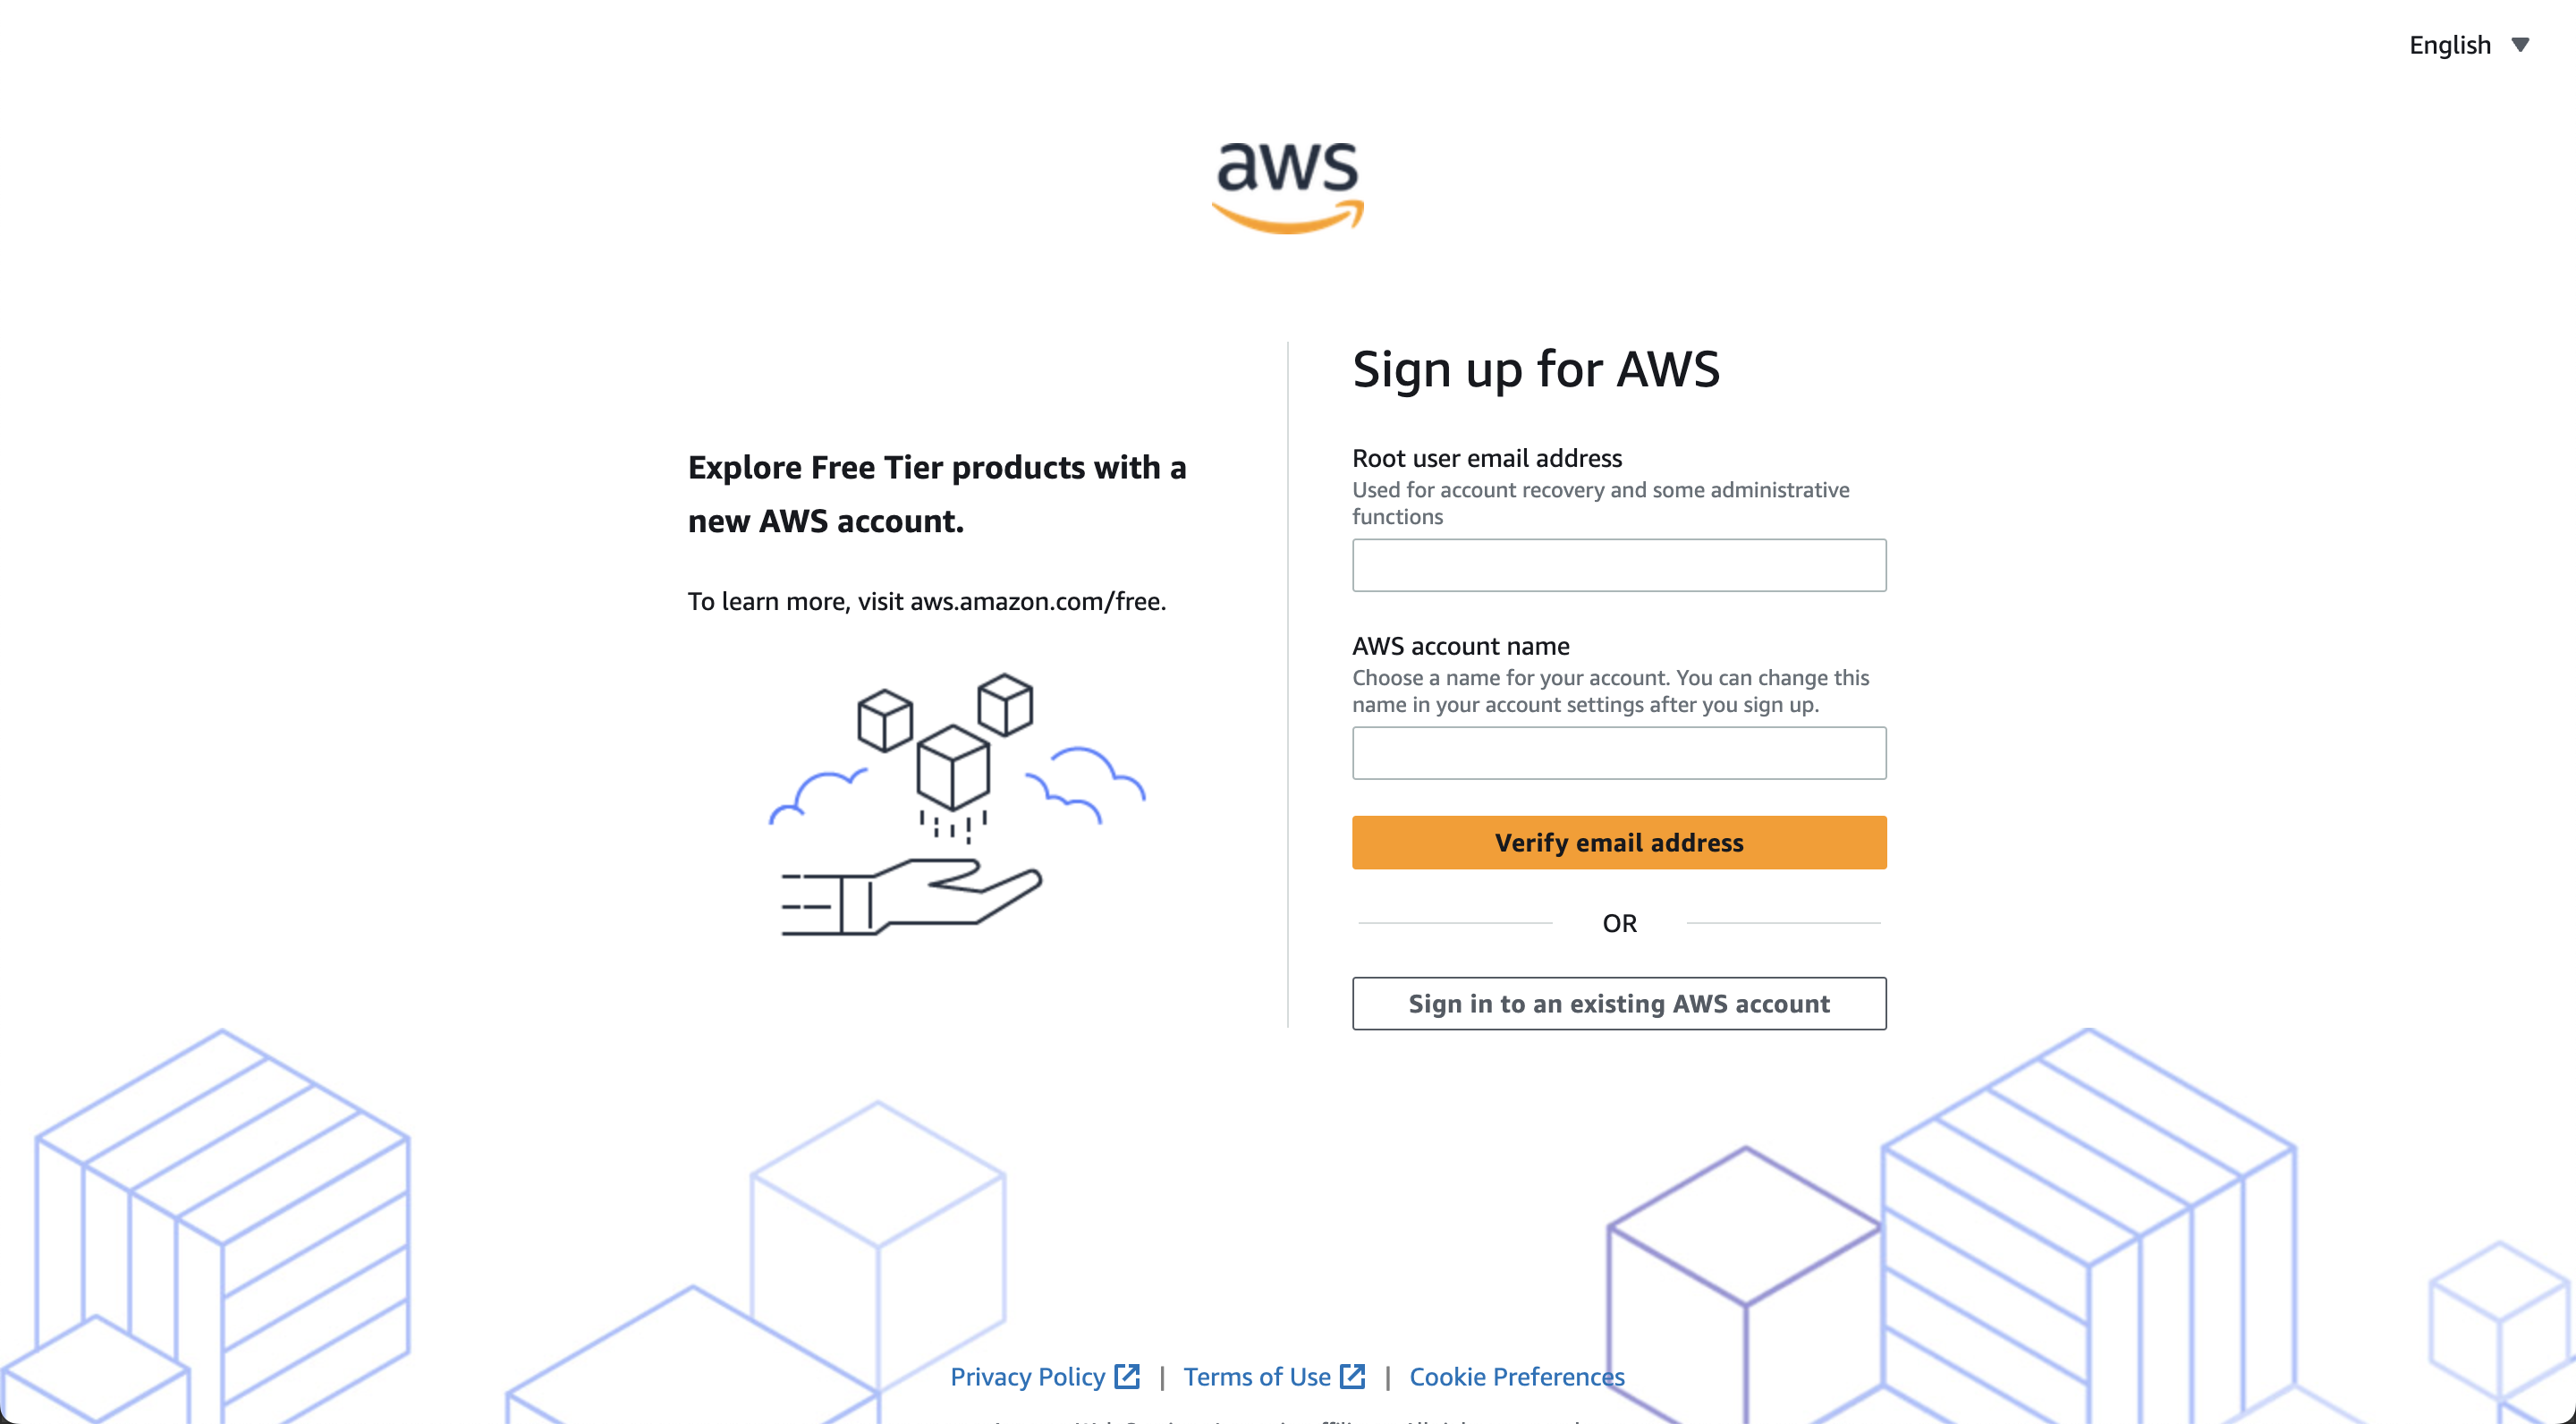
Your AWS Dashboard
Now that you've sign up for AWS, you should have been redirected to your AWS dashboard page. Ensure in the top right that the region is set to the correct region before continuing with the next step. If this is your first time logging in, you'll see a couple of guided popups, we recommend you reading these.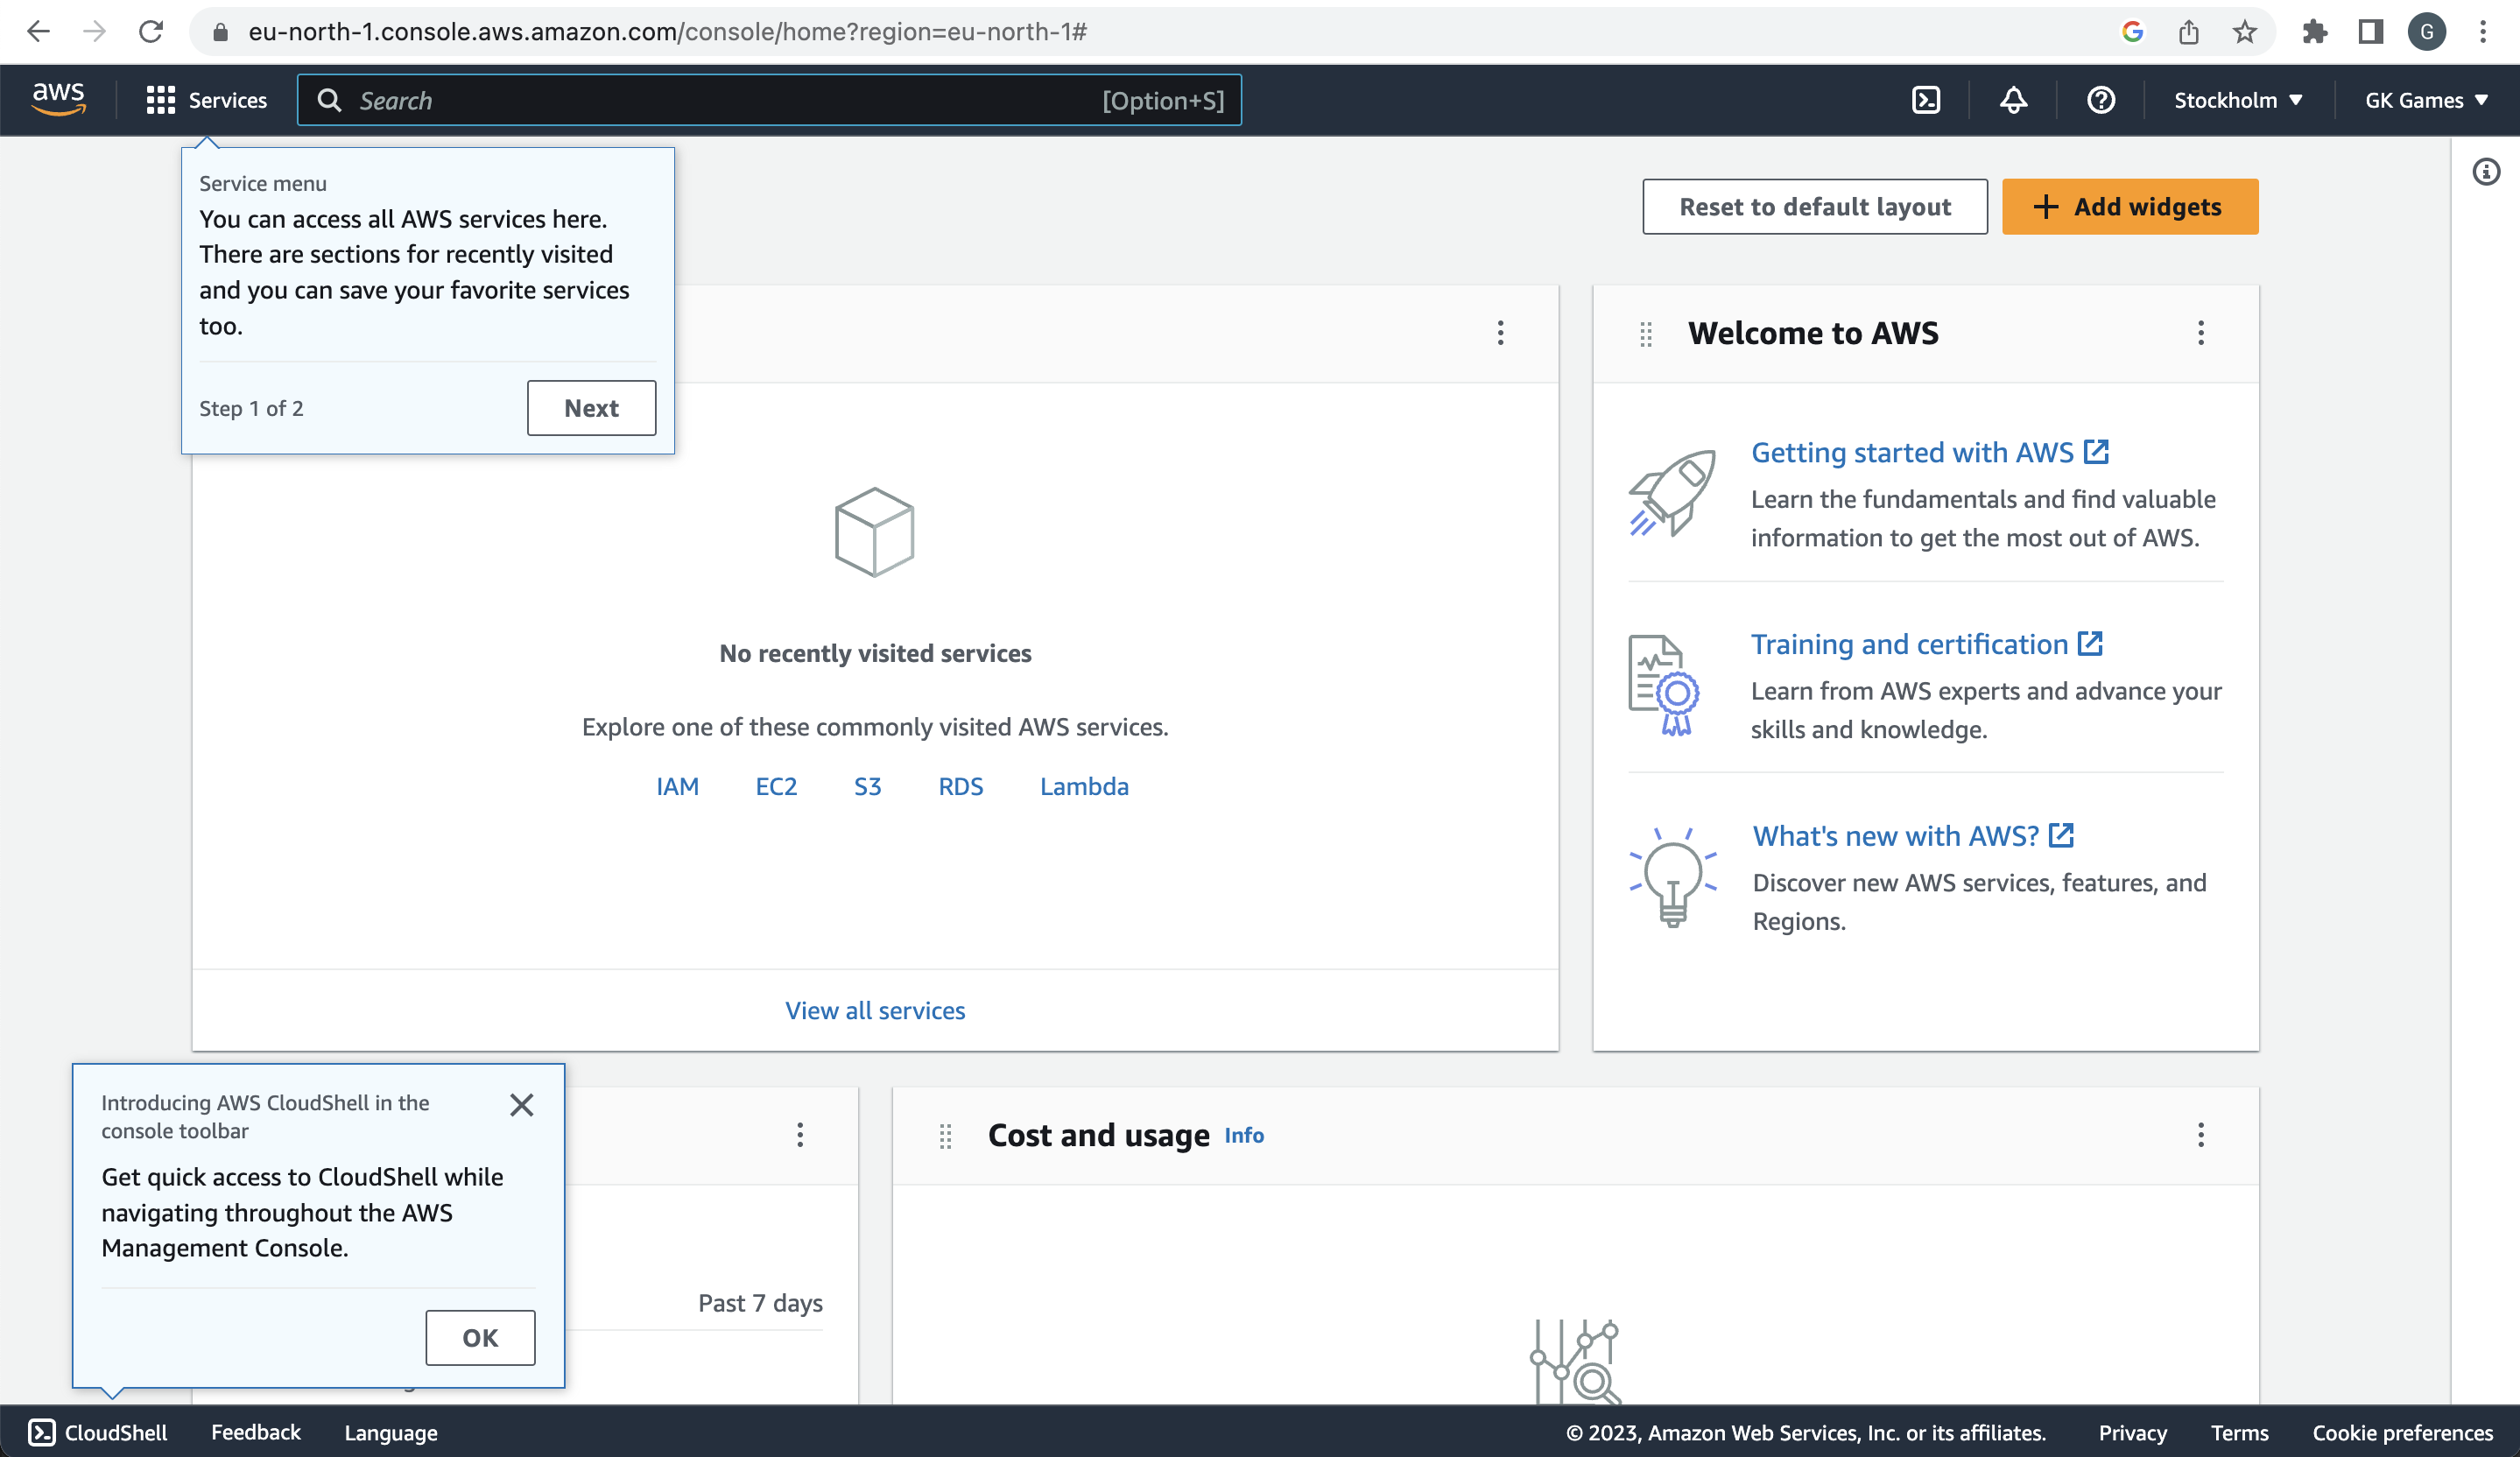
Simple Email Service
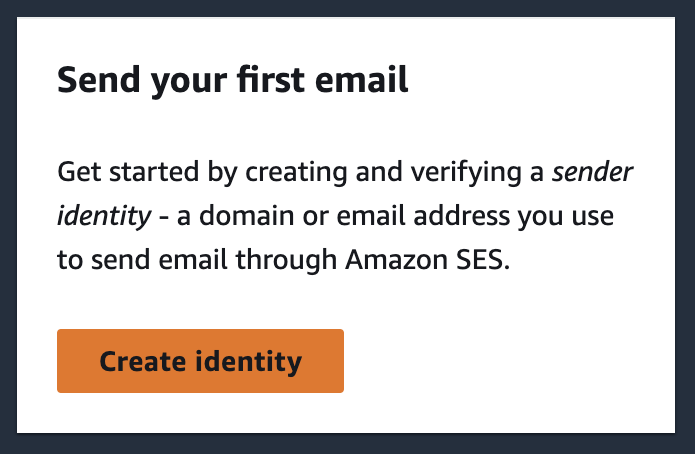
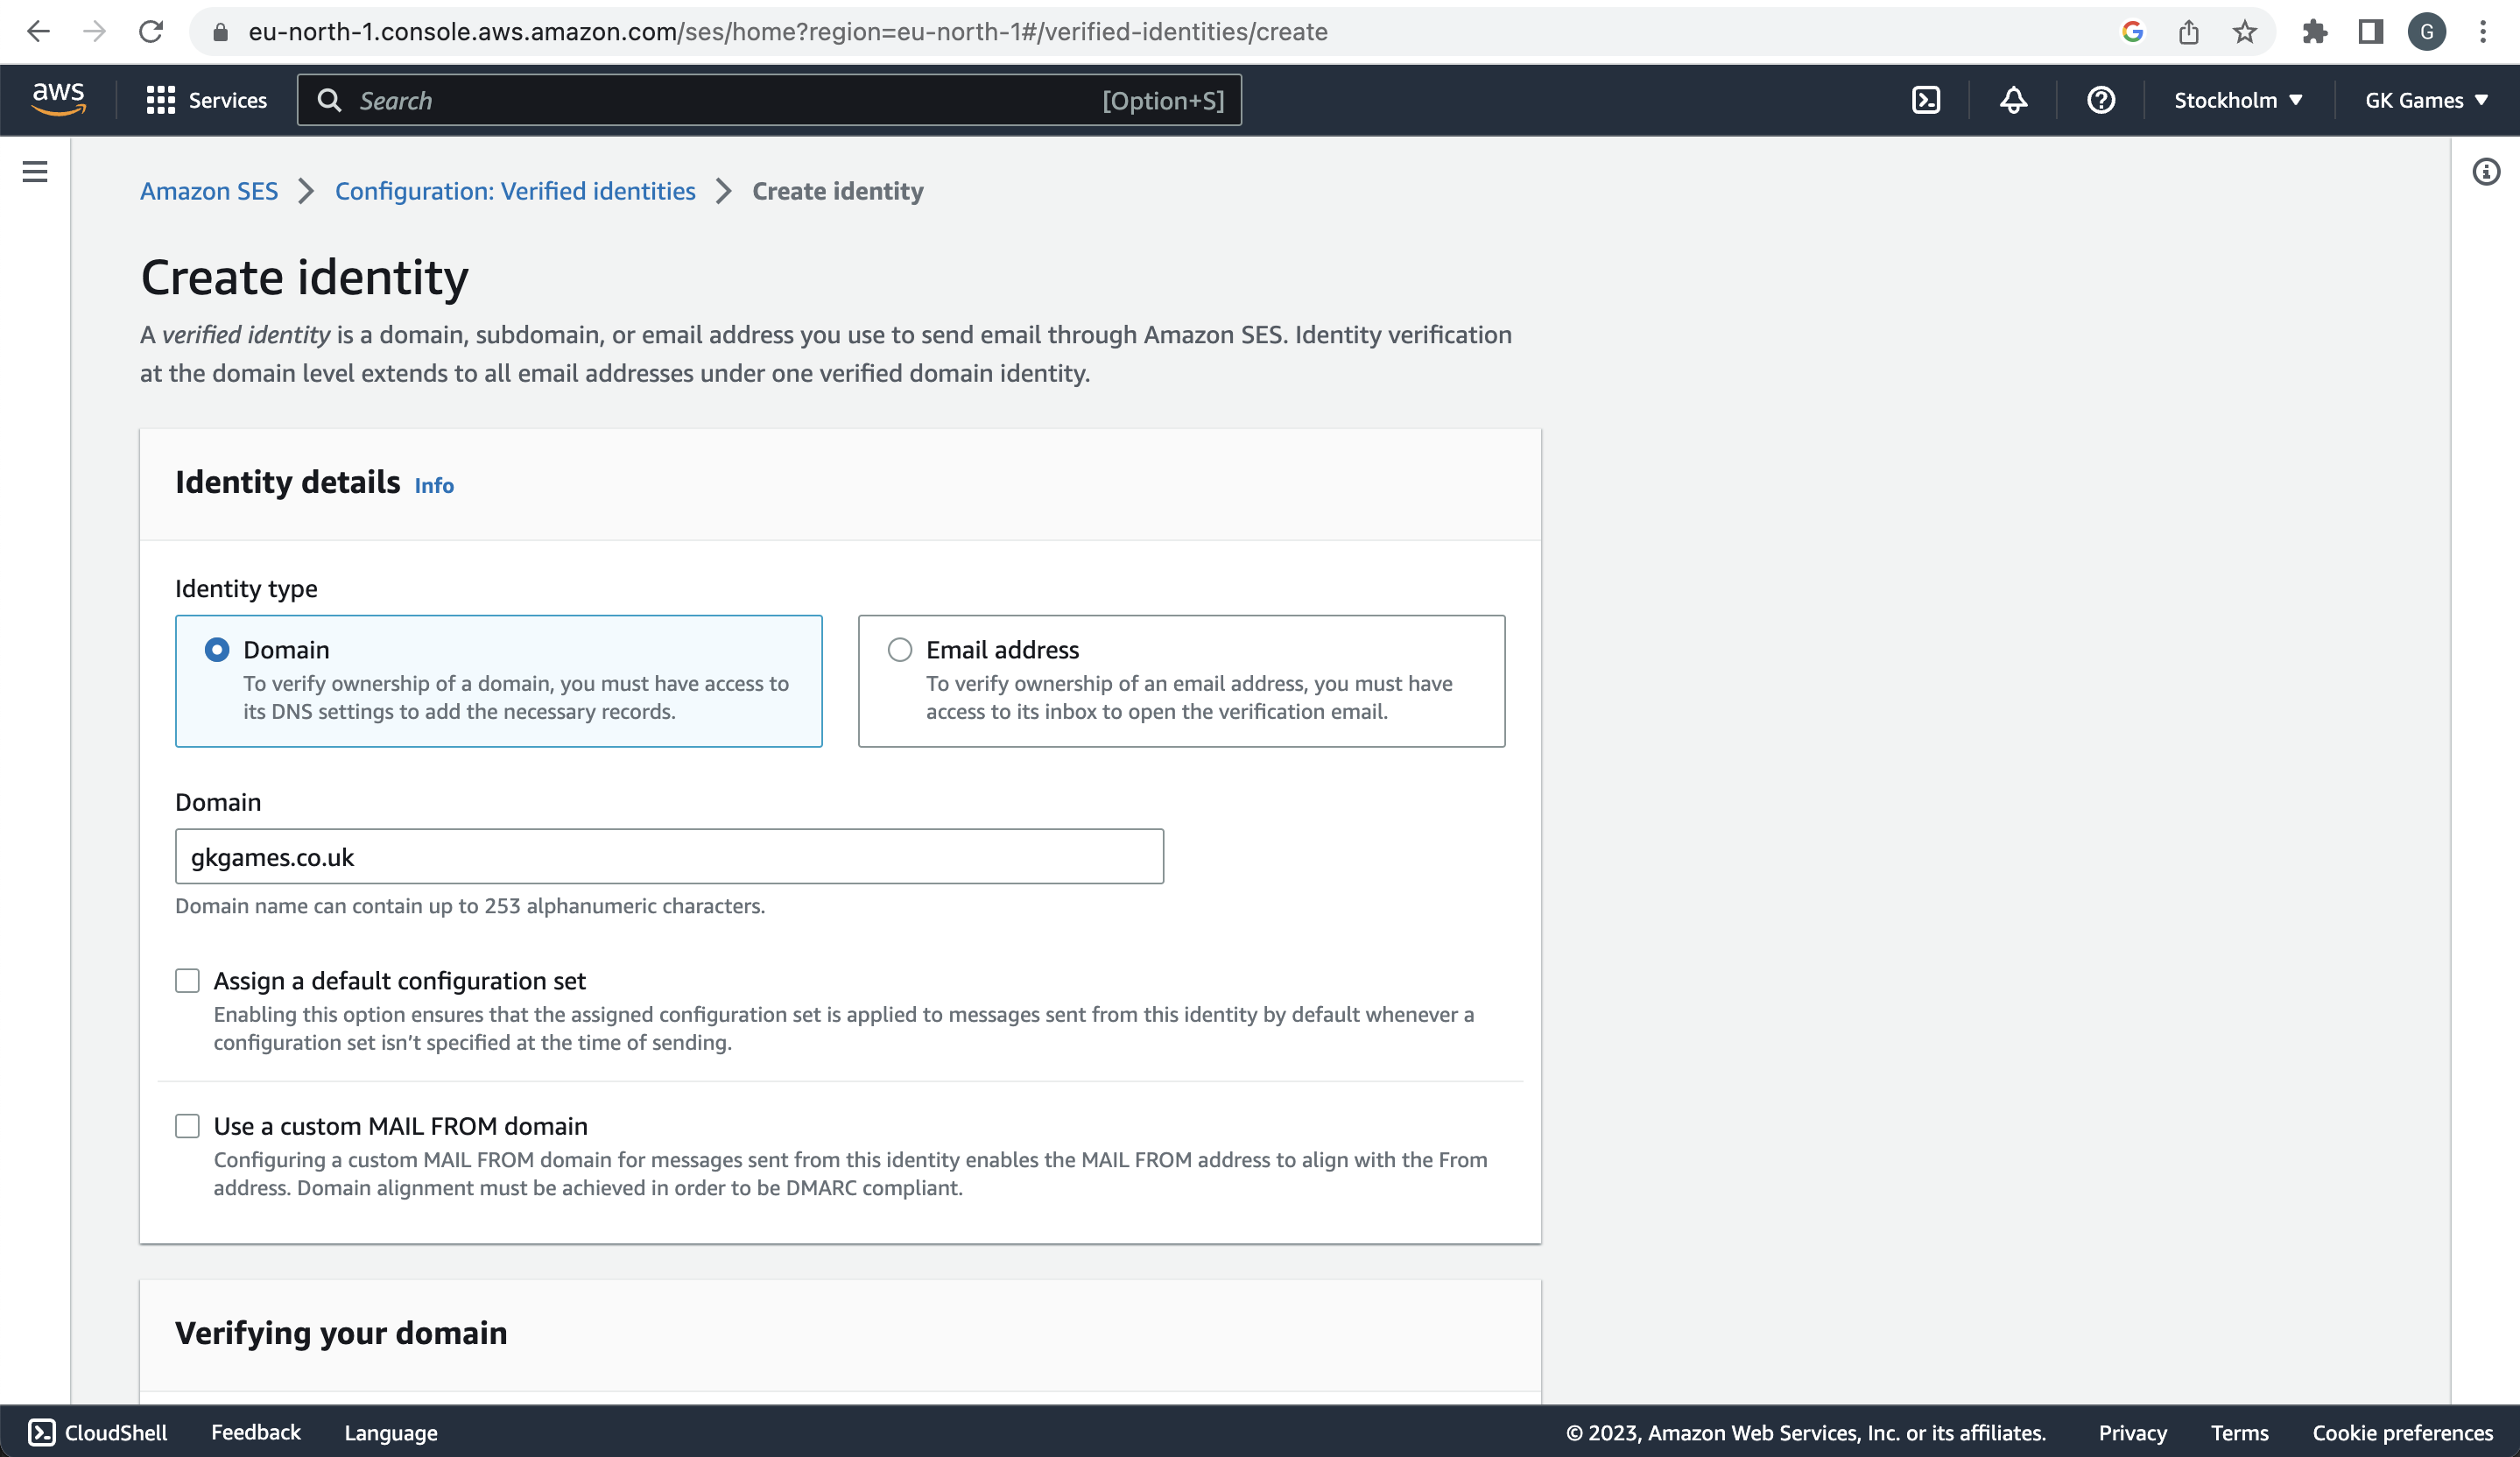
Next, we have a 5 step process for setting up the 'Simple Email Service' on AWS. To get started simply search SES in the search bar and click on the first option. Once you've been redirected, you should see a 'Create Identity' button, go ahead and click it to setup the domain in which you're going to send your emails from.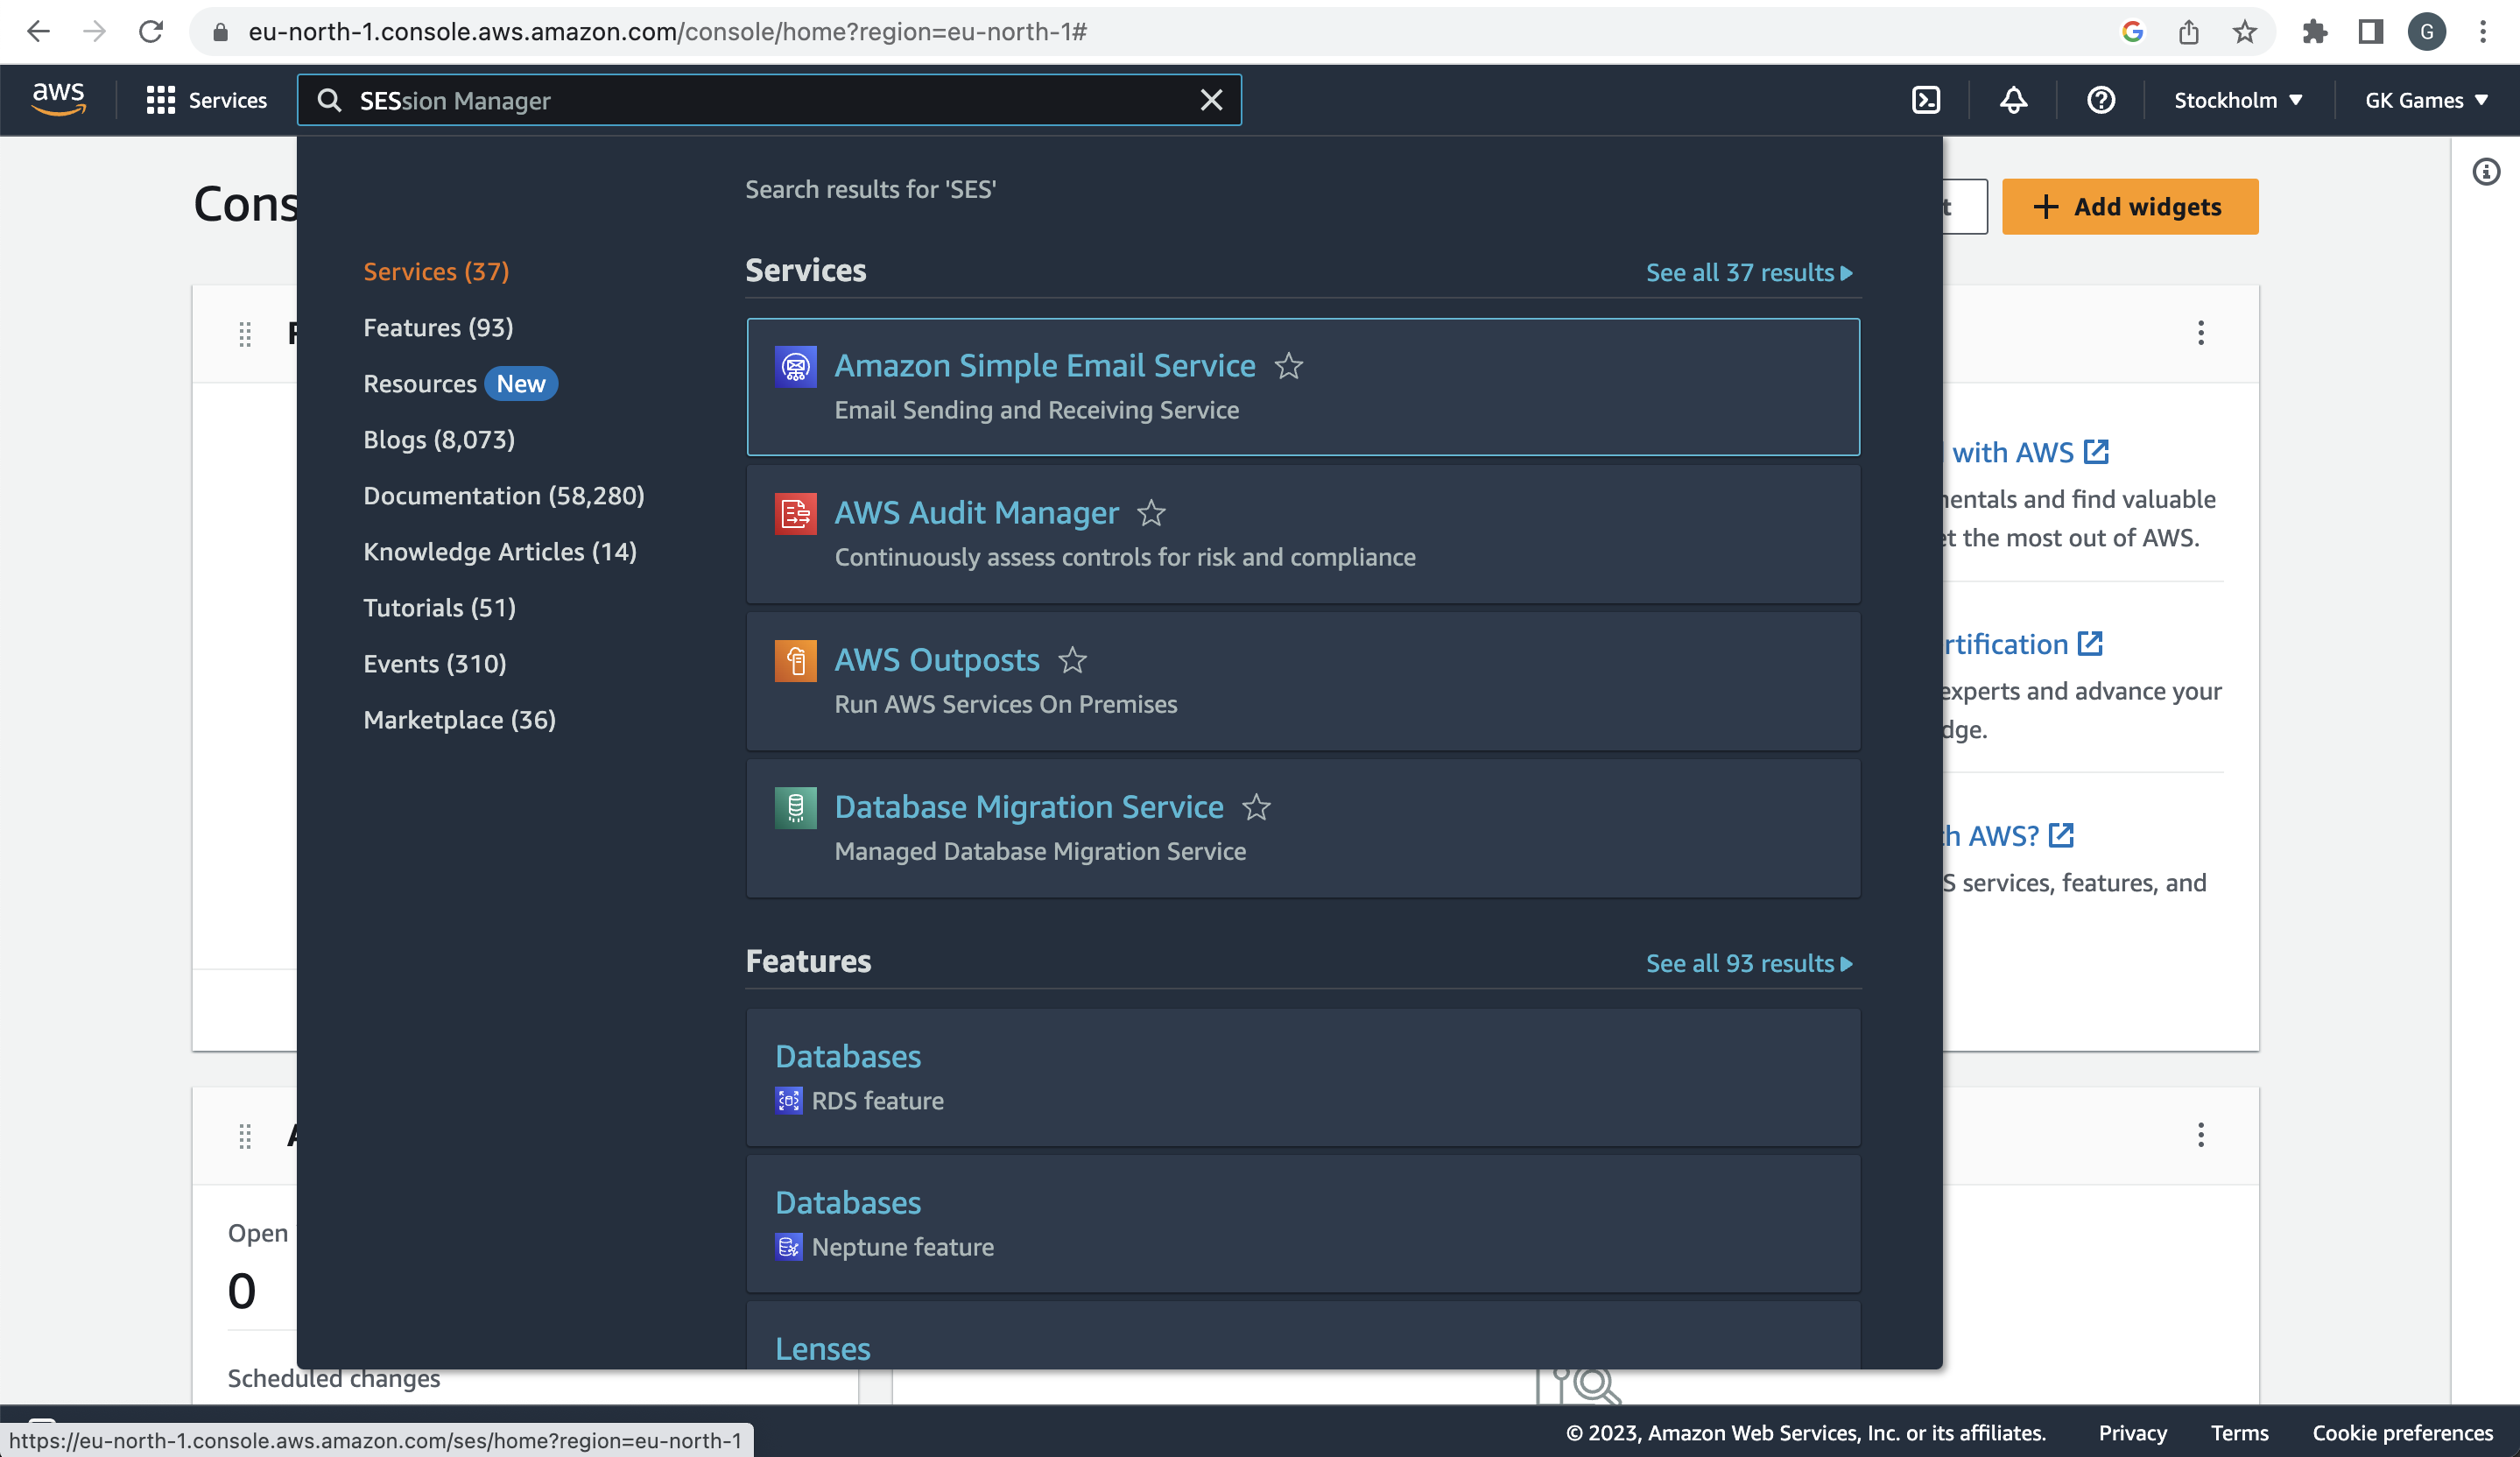
Step 2, you will need to create the identity for your chosen domain. Simply go through the form, selecting Domain and then enter your domain. Leave the 2 check box's unchecked too.
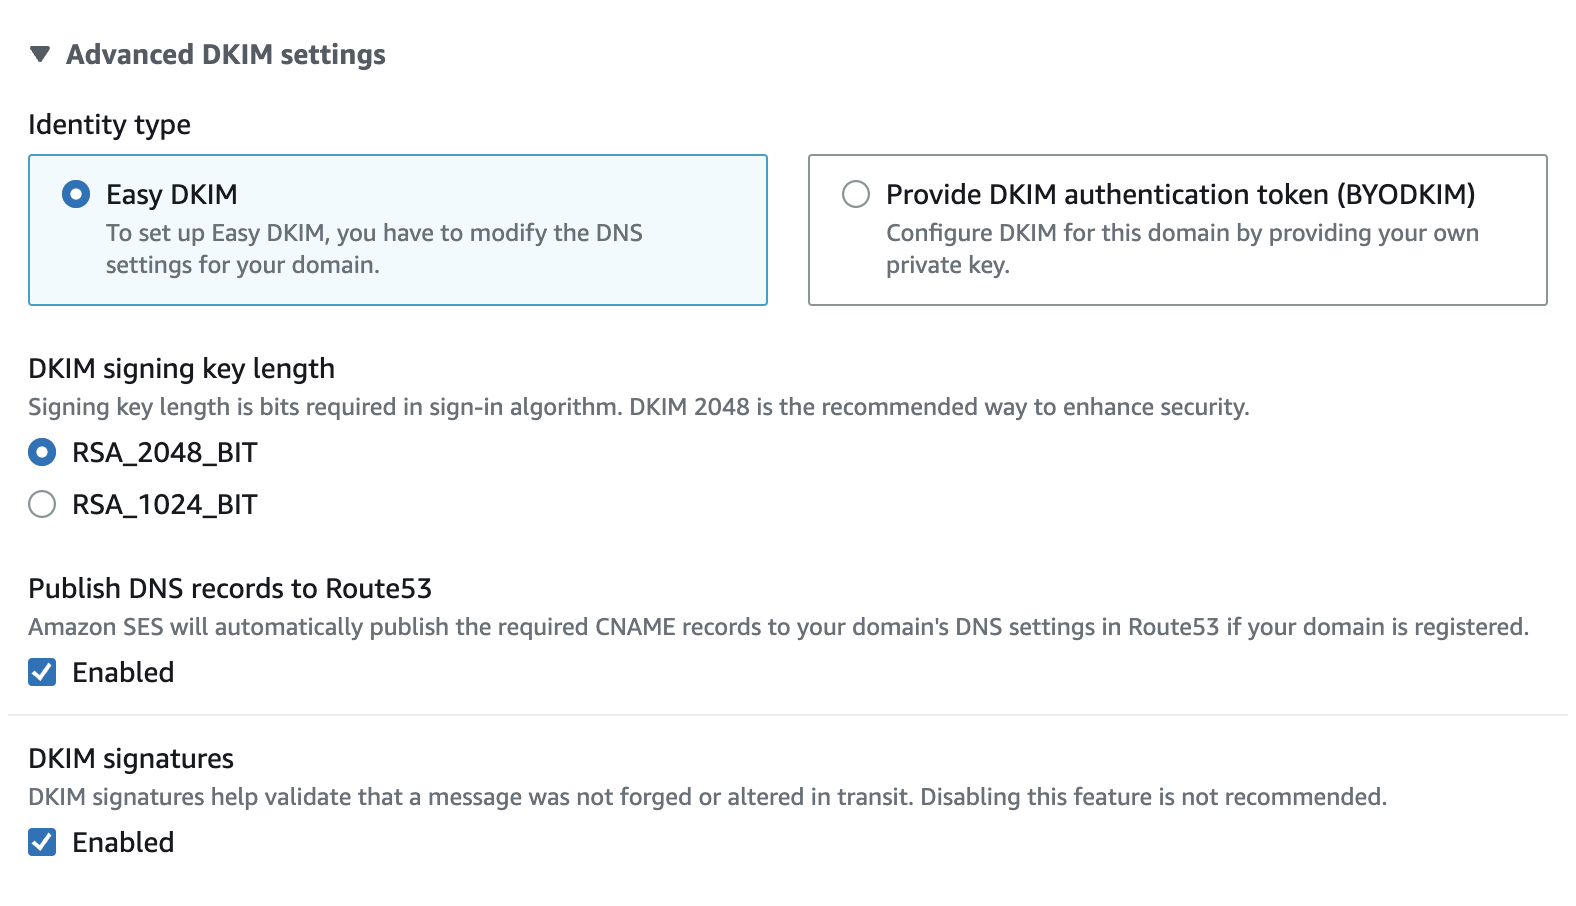
Step 3, If you scroll down the identity form, you should come across a minimised section named Advanced DKIM settings. Go ahead and open this up and select: Easy DKIM, RSA_2048_BIT and ensure the two check box's are selected.
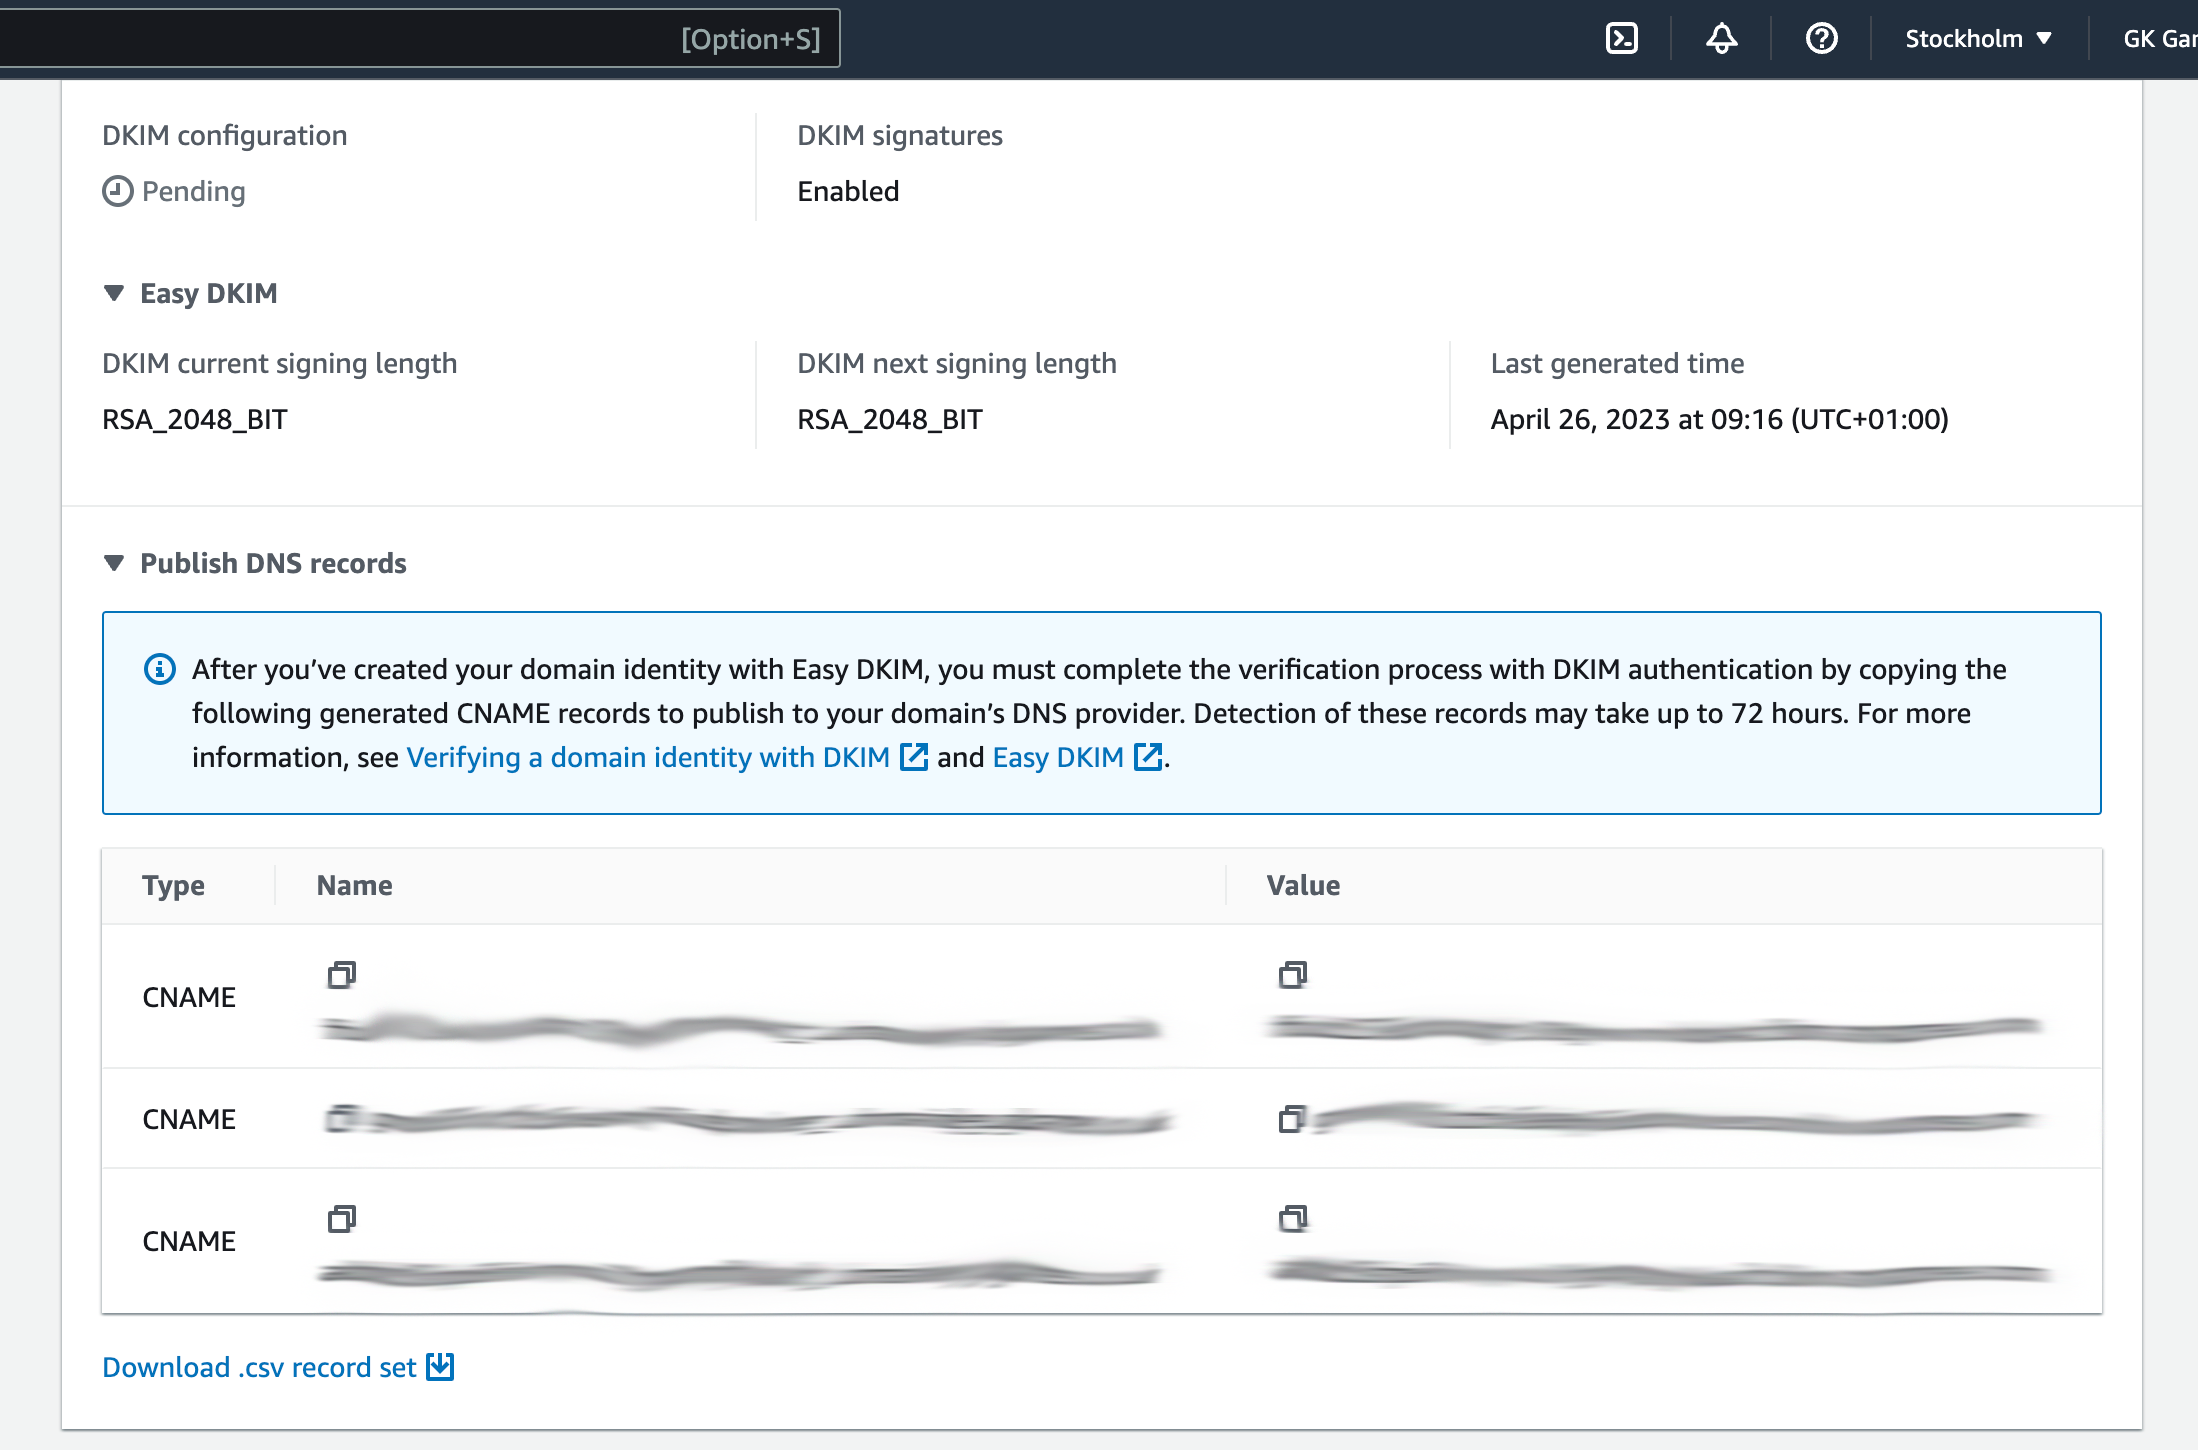
Step 4, once you've submitted the request to create an identity for your domain, you should've been redirected to a page full of your AWS CNAME records. You will need to add these CNAME records to your domains records, if you're using Cloudfare, then you can add these records in there.
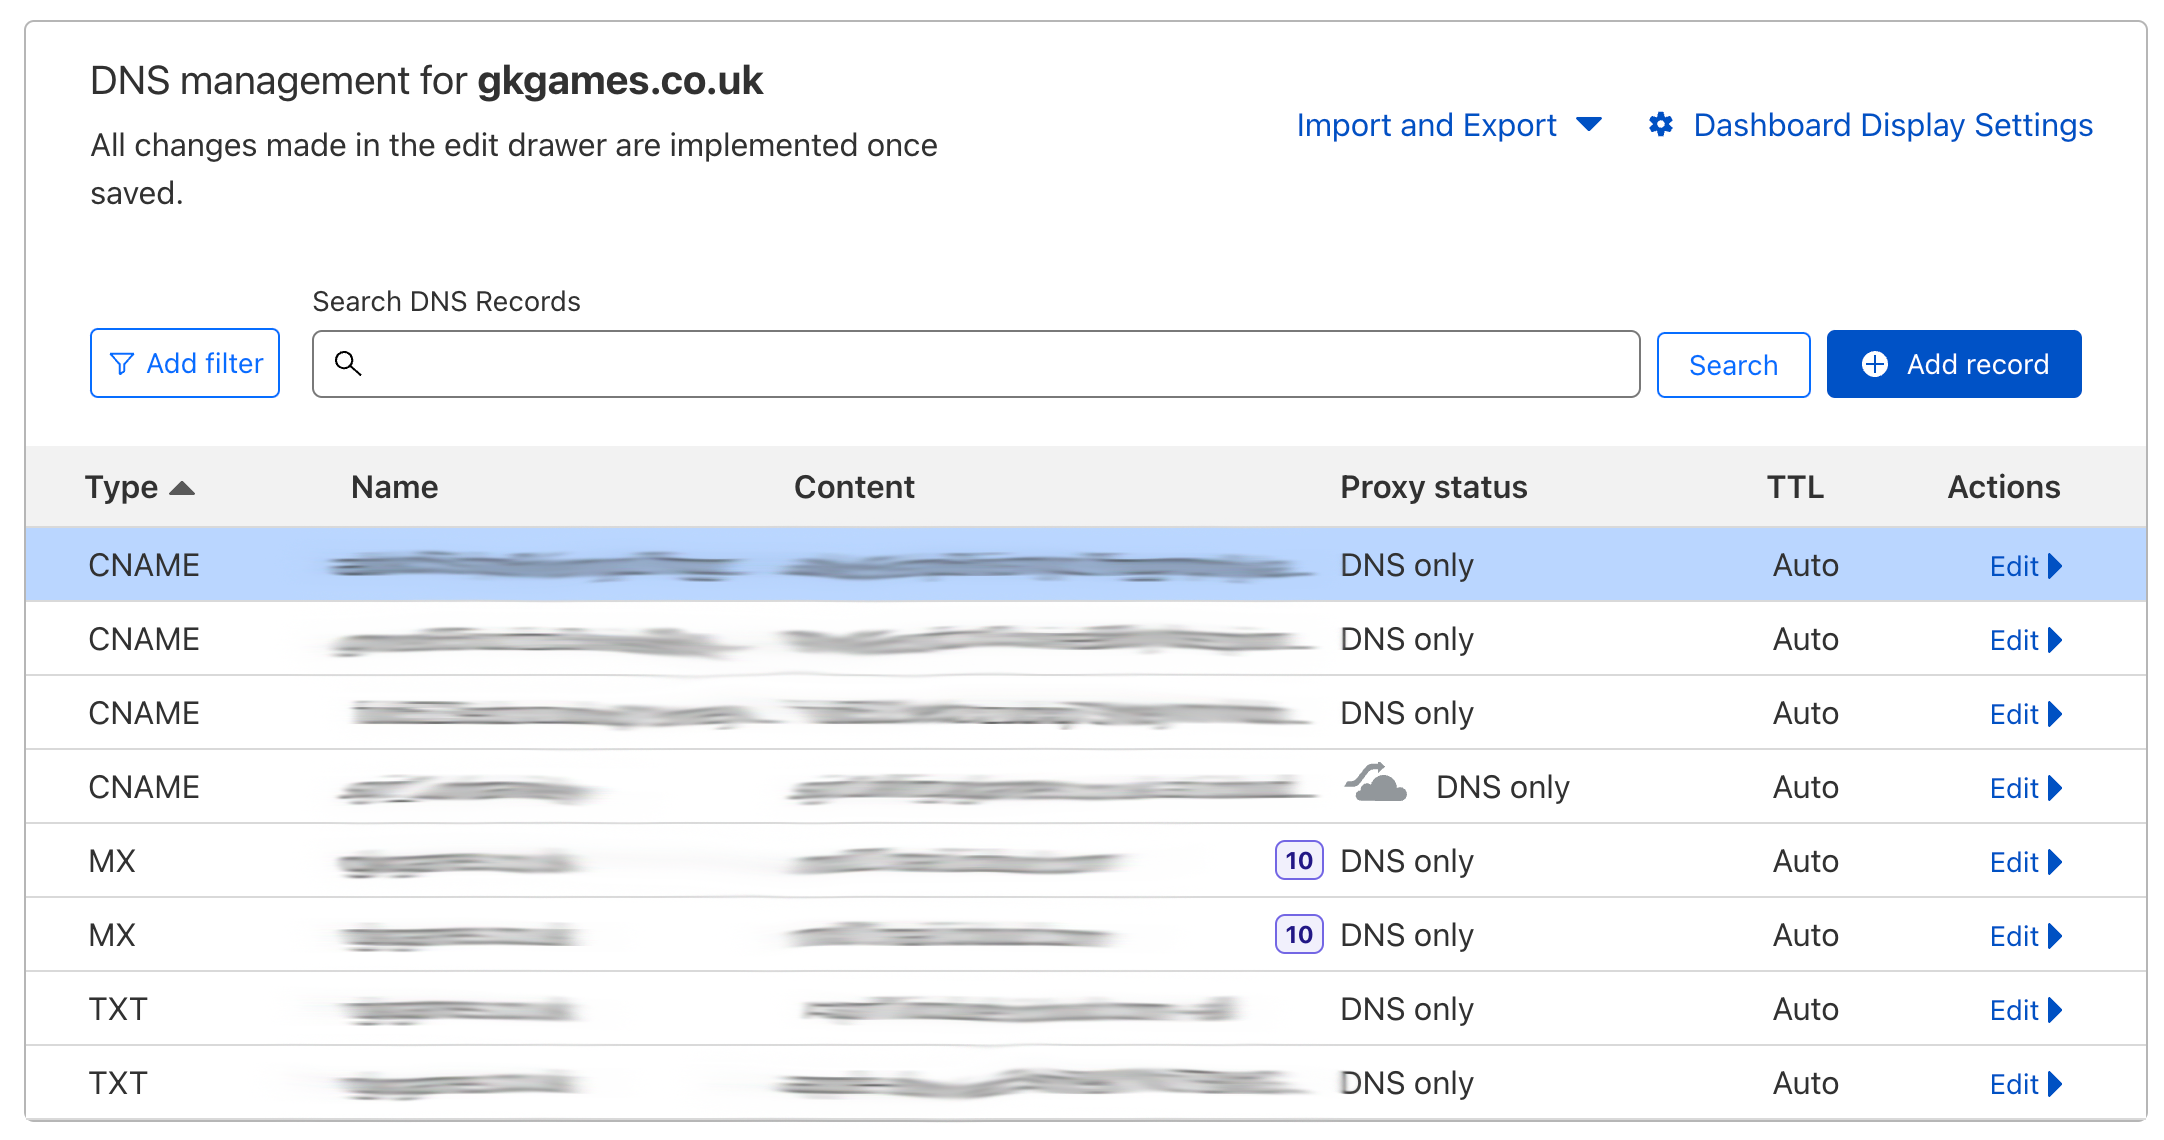
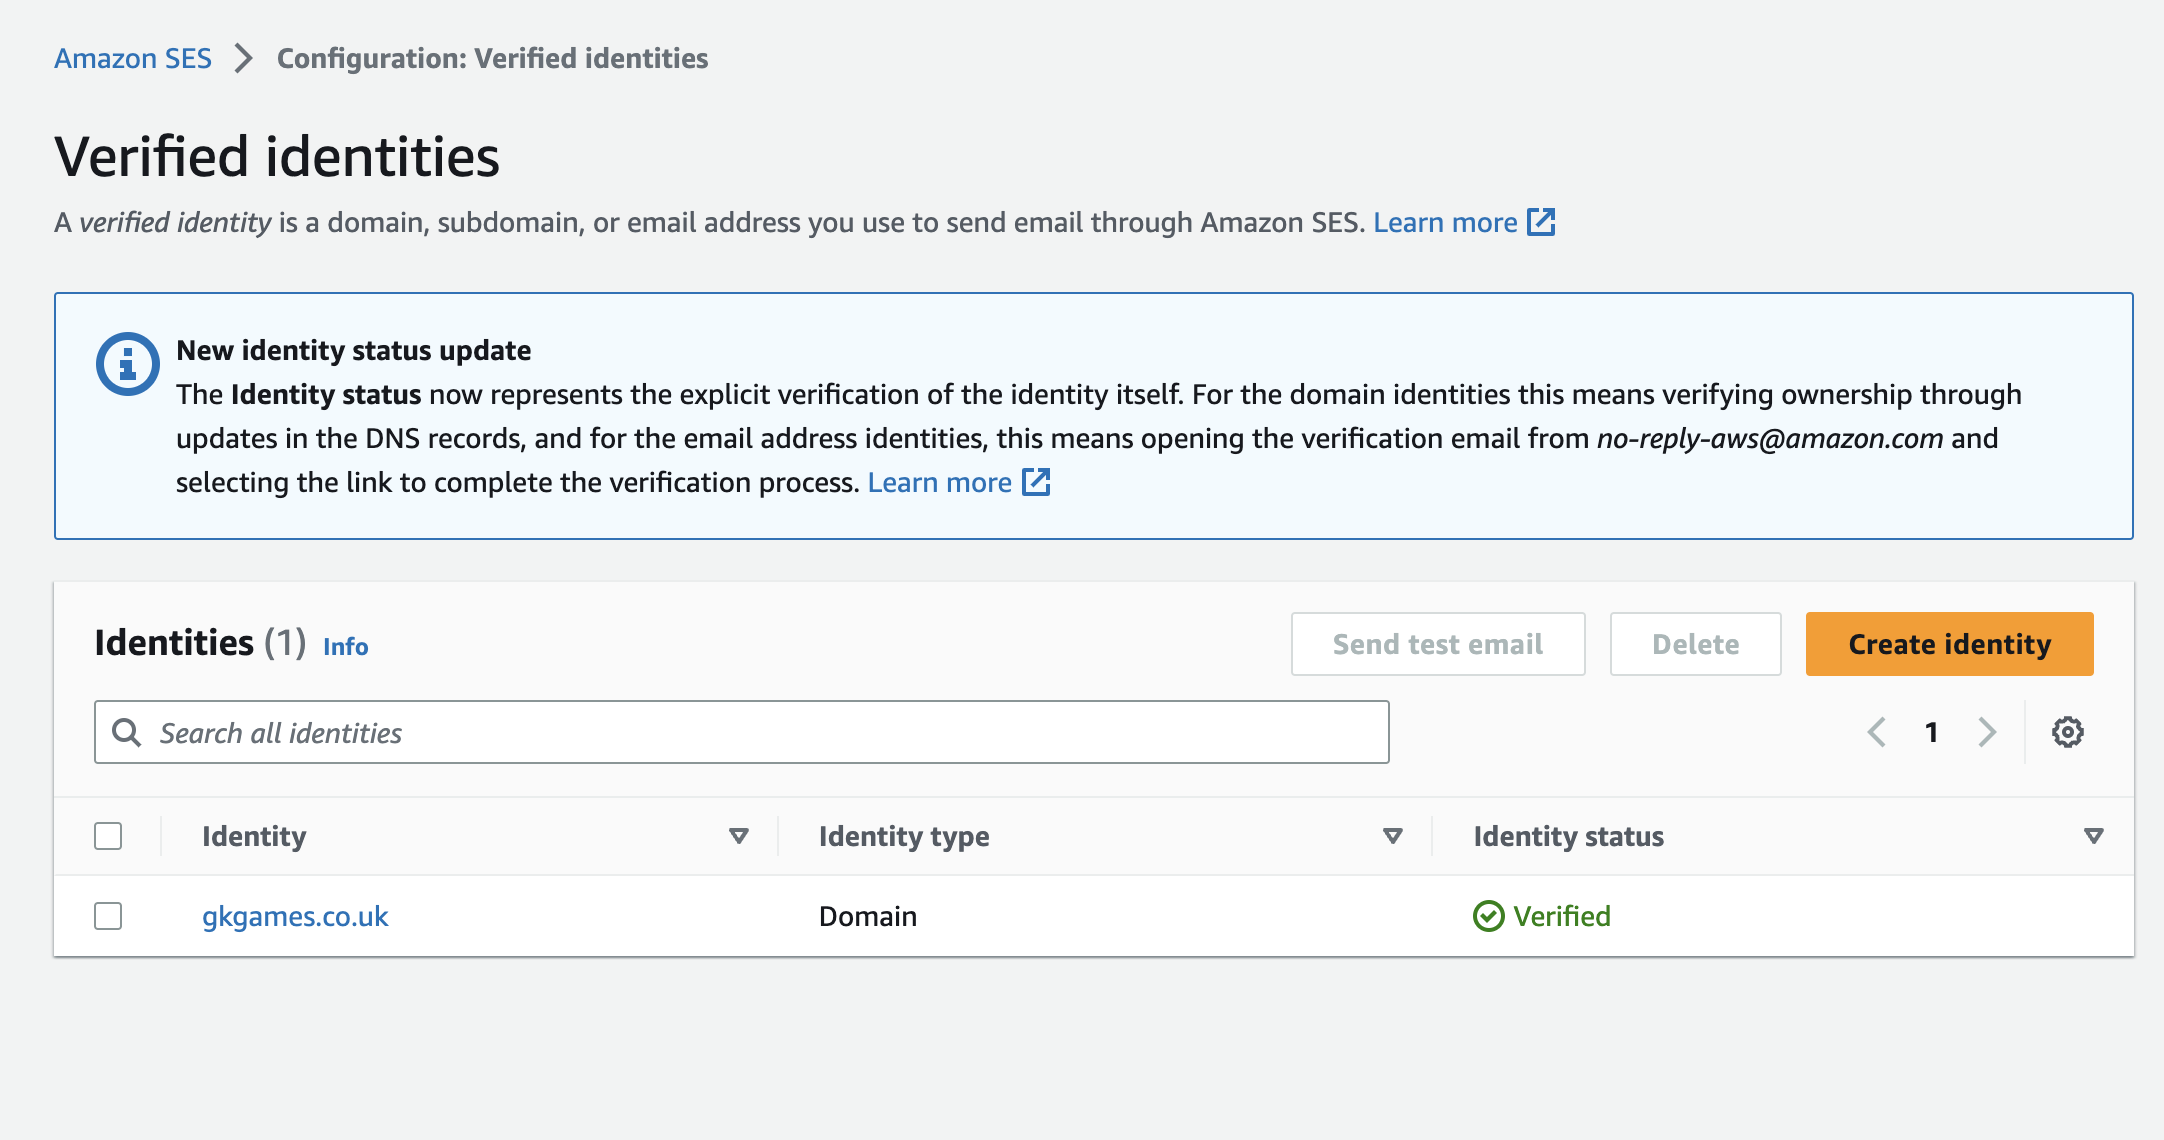
Step 5, you need to add these CNAME records from the previous step to wherever your domain records are kept. In this example we're using Cloudflare, so we headed over to our DNS management and added these CNAME records. Once Amazon has verified that you've successfully done this, then your verified identities page on AWS should display: Verified
Simple Mail Transfer Protocol (SMTP) Settings
Now that you've successfully registered and linked your domain as an identity with AWS, you need to configure your SMTP settings. To do this, simply head over to the Advanced SES SMTP Settings section. From here you'll need to 'Create SMTP Credentials'.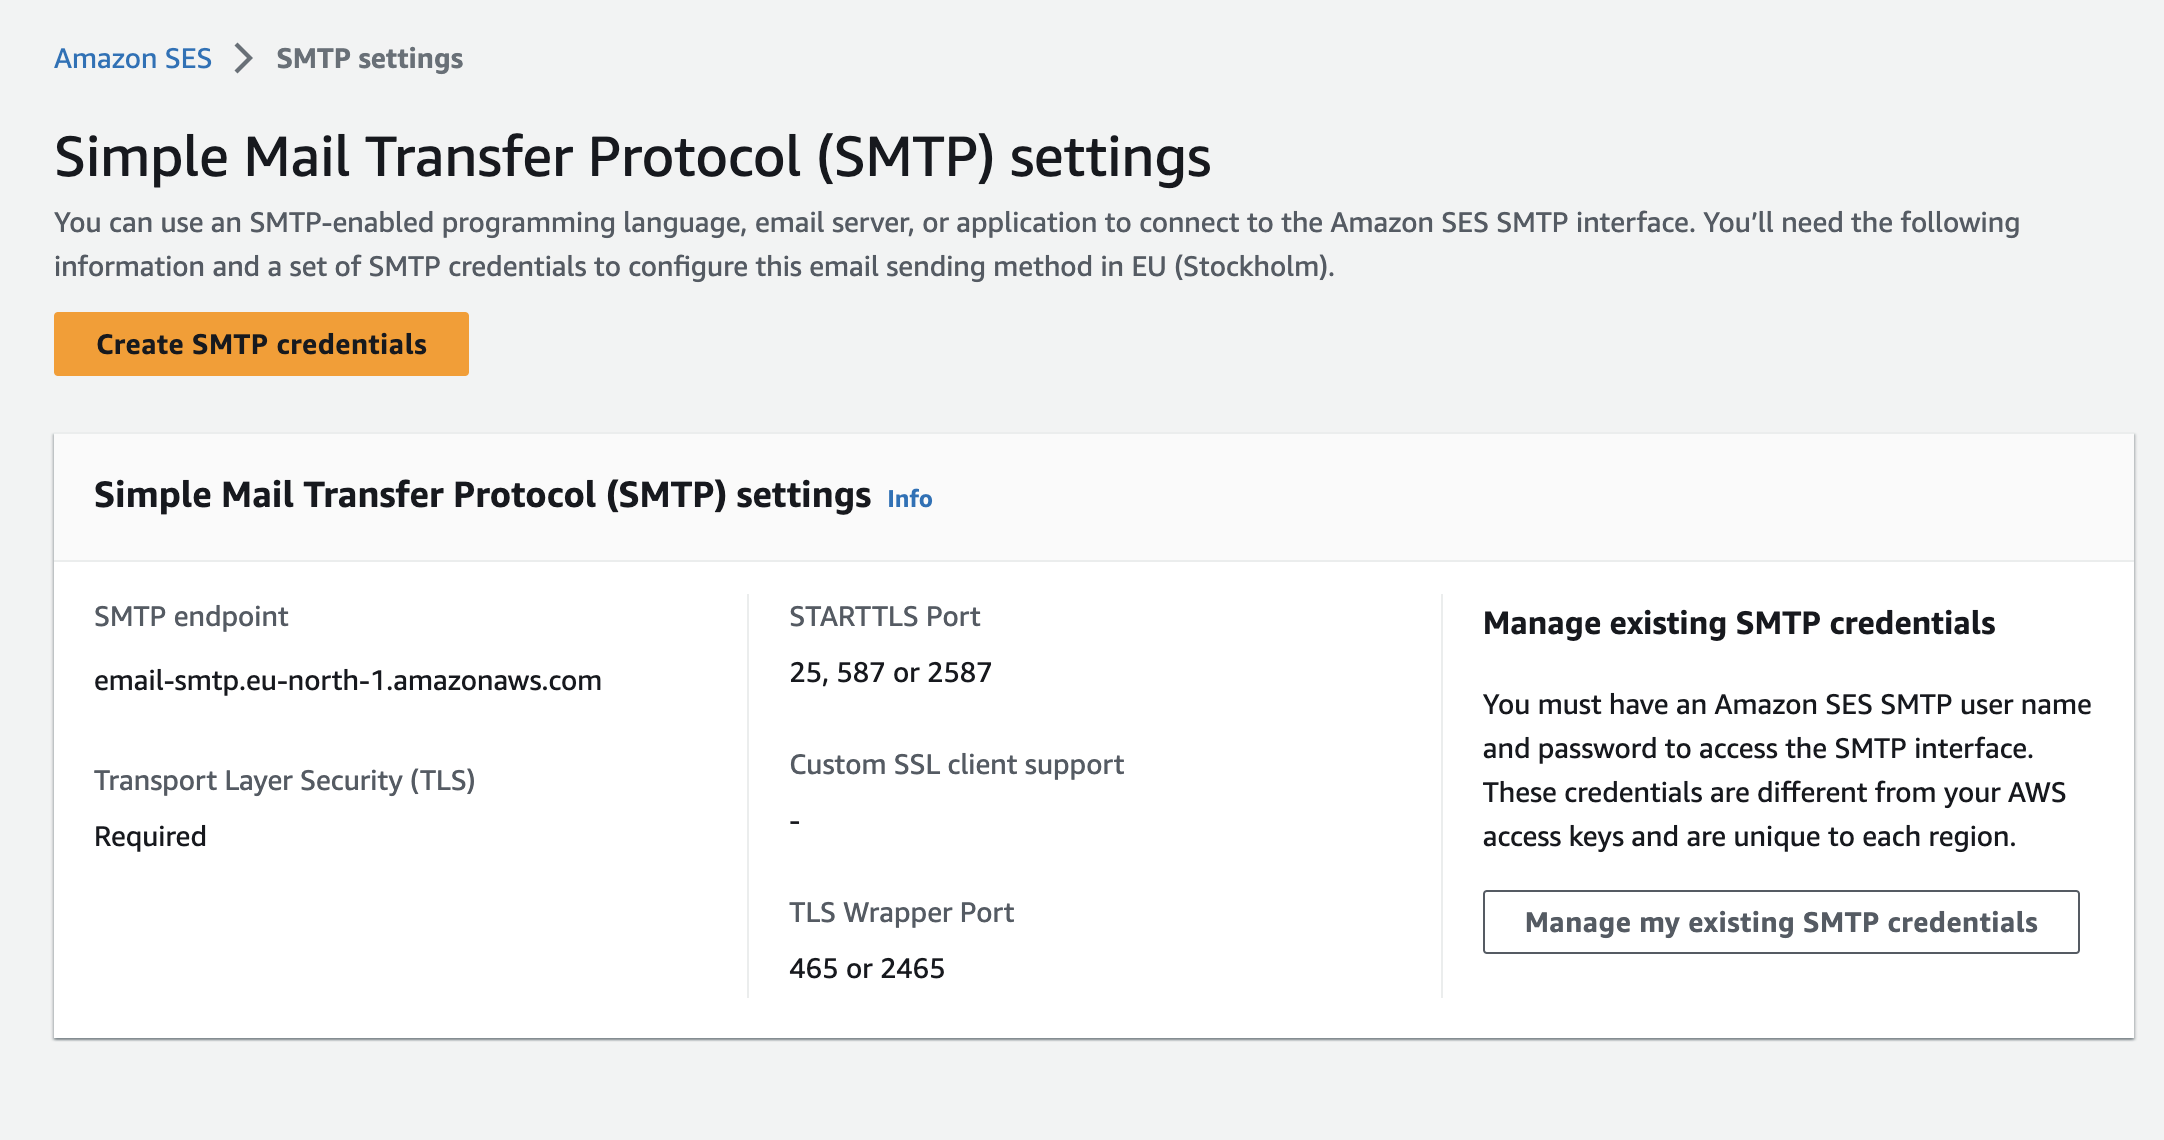
Step 2, Follow the instructions provided by Amazon, naming your IAM User Name something meaningful, in our example we just used 'whawoo-marketing-system-smtp-user', we would suggest a name convention of [company-name]-smtp-user. Once you've done this click 'create' and you should be prompted to download these credentials, go ahead and do this, we will need these when configuring AWS with our system. These just ensure your emails are sent through your AWS account.

Whawoo Setup
Getting Started With Whawoo
Currently our registration process is done directly through us, we wan't to make the process as easy, simple and stress free for you guys! So to register for our marketing system, head over to our Register Form . Fill out our form and a member of our team will get in touch as soon as we can, usually with a few hours, but if not then 24 hours. Once we've recieved your request we will begin the sign up process and get you on the marketing system.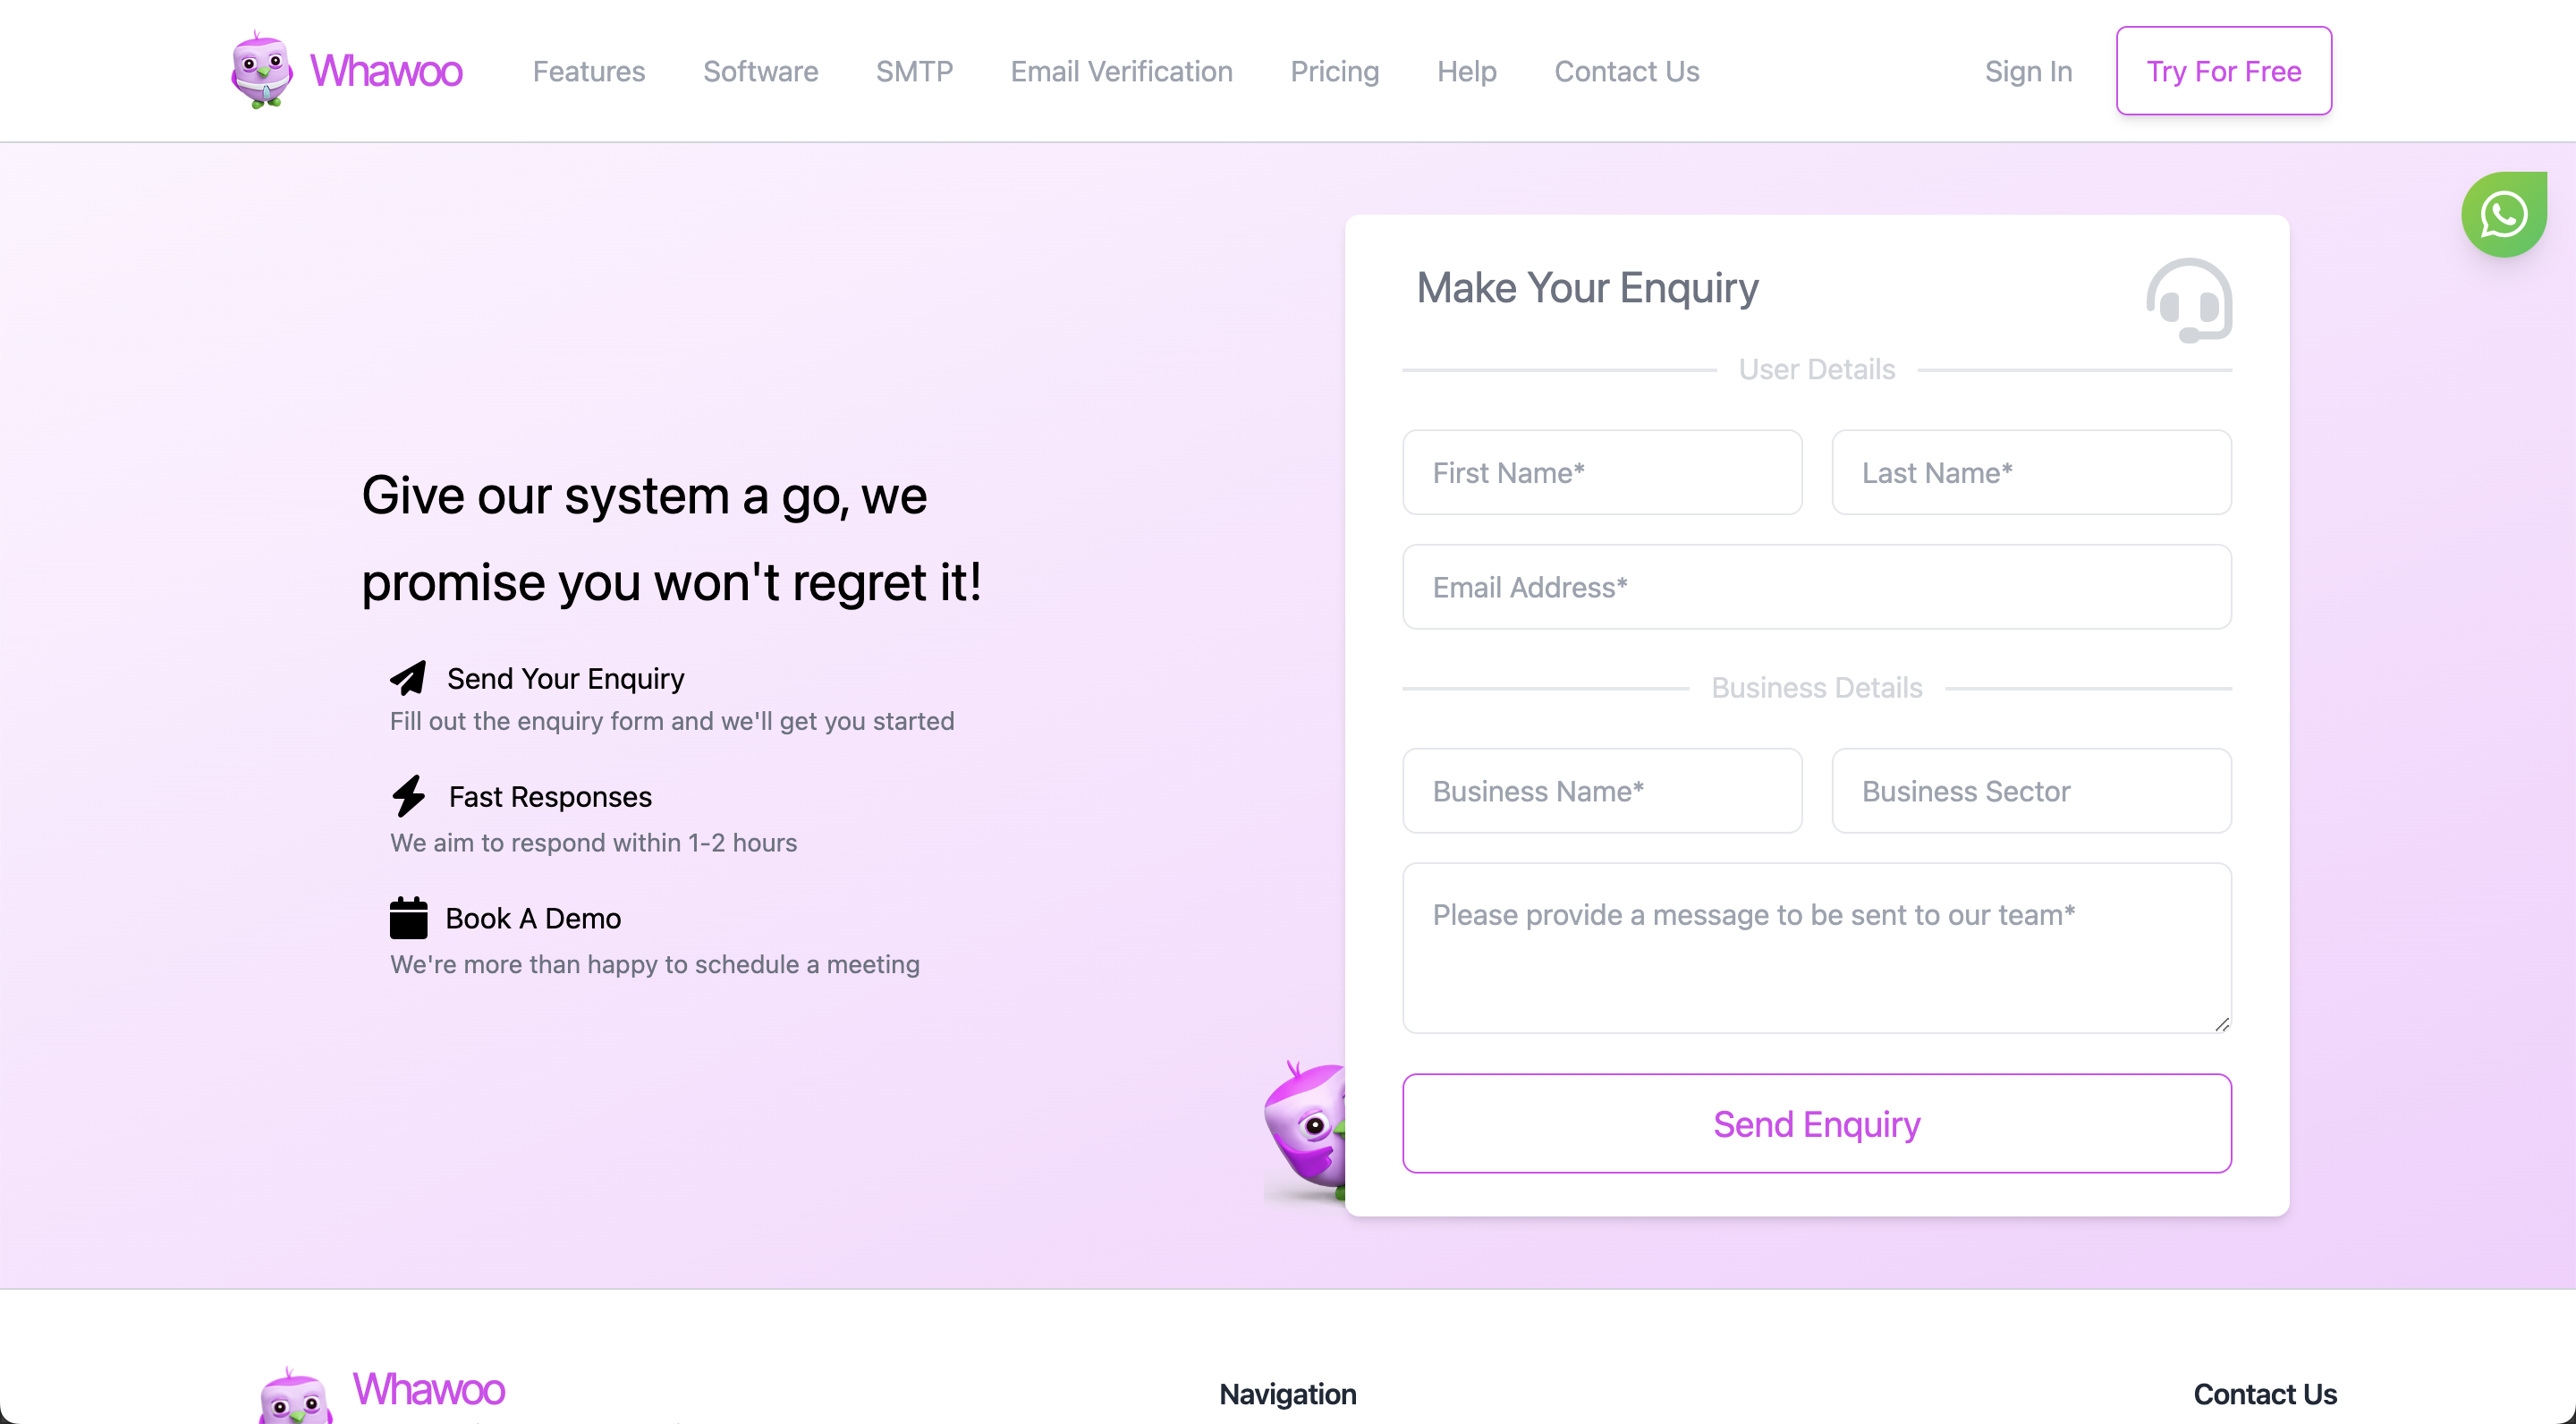
Register Businesses With Whawoo
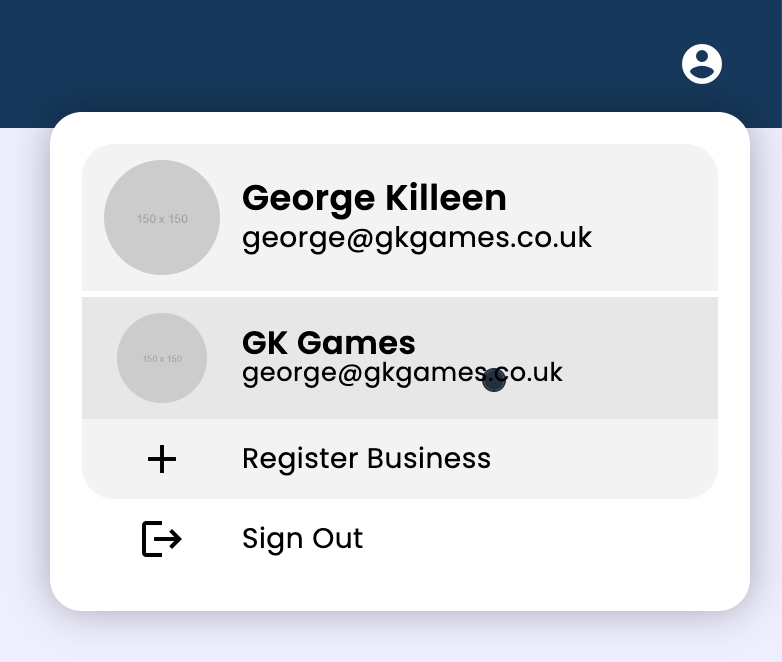
Now that you've been registered onto the marketing system, you can go ahead and login with the details we've provided to you ( Sign In ). Once you've logged in you need to create a business for your account. In the top right corner of the navigation bar, click on the user icon and then 'Register Business'. You will be redirected to the register business page, from here just fill out the form and register. You need a business to send your email campaigns.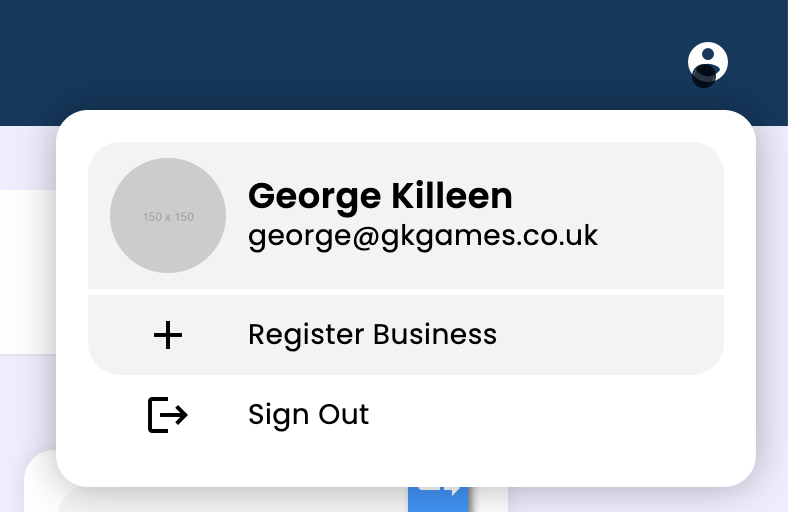
Start Creating Your Email Campaigns
Once you've successfully created your business, then you should be redirected to your campaign dashboard. From here you can create all of your email marketing campaigns.
Whawoo
Your Ultimate Marketing System

Navigation
Contact Us
2023 © Passive Software. All rights reserved.